
As previously discussed on “How to install WordPress using Softaculous?” WordPress’ functionality can be expanded using plugins. One of the most-installed plugins, especially upon a fresh/new install, is the WP Super Cache plugin. This plugin helps your website load faster by delivering a cached, or previously stored version, of your WordPress website.
Why Are Fast Loading Times Important For A Website?
Search Engine authority Neil Patel said it perfectly: “A slow page frustrates users and ultimately discourage people from buying your product.”
In his article “The 10 Most Important SEO Tips You Need to Know,” he points out that just A SINGLE SECOND of page loading delay can result in a 7% loss of conversions.
Who would have thought that a mere second can cause a business to lose so much? Thus, WordPress enthusiasts’ most favorite FREE solution, WP Super Cache, is here to save the day.
Installation
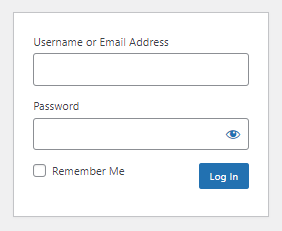
- Navigate to your WordPress Login Page. Enter your credentials and log in.
- Usually, your WordPress Login Page would be located on:
- Or, you may use the credentials generated from your installation. You may refer to our guide, “How to install WordPress scripts using Softaculous?” if you have yet to install your WordPress Website.
- On the left side of your WordPress Dashboard, there is a vertical menu, and you can find the menu item “Plugins” there, with the option “Add New” when you mouse over.

- Hit “Add New,” and WordPress will take you to the Plugin directory.
- You have two options how to install the WP Super Cache Plugin:

- Install it from the WordPress Plugin Directory by doing a simple search, OR
- You could download the WP Super Cache Plugin from its page, upload, install, and activate it.
- Option 1: Installing WP Super Cache from the WordPress Plugin Directory:
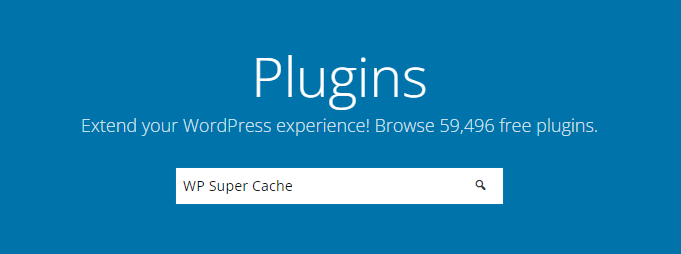
- Search “WP Super Cache” on the top right Search field of the page.
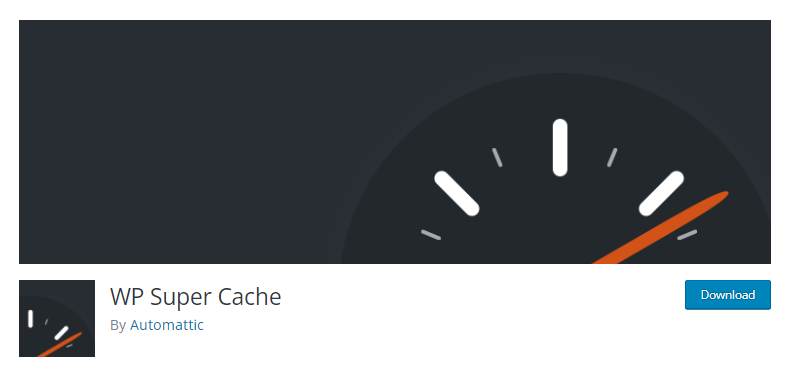
- When you find WP Super Cache on the results, click “Install Now.”
- When WP Super Cache finishes installing, click “Activate.”
- WordPress will indicate that the plugin has been activated.
- You may now configure WP Super Cache. Configuring WP Super Cache is detailed on the “Configuration” section of this guide.
- Option 2: Downloading the WP Super Cache Plugin from its page, uploading, installing, and activating it.
- Navigate to https://wordpress.org/plugins/.
- Search for “WP Super Cache.”

- You may also navigate directly to this page: https://wordpress.org/plugins/wp-super-cache/.

- Hit the download button.
- Go back to the Add Plugin Dashboard Page.
- Hit “Upload Plugin.”
- Hit “Choose File.”
- From your files, choose the WP Super Cache zip file that you’ve downloaded from the Plugin Page.
- Hit “Install Now.”
- After the plugin has been installed, WordPress will indicate that the “Plugin (has) installed successfully.”
- Hit “Activate Plugin.”

- You may now go ahead and configure WP Super Cache. The instructions are on the “Configuration” section of this guide.
Configuration
Now that you have installed WP Super Cache, it’s time to configure it.
There are 2 ways to configure it: From the post-installation note at the top of the Plugins page where it says “WP Super Cache is disabled. Please go to the plugin admin page to enable caching,” and the other option is when you scroll down to the “WP Super Cache Plugin” entry on the Plugins list and go into “Settings.”
After you’ve gone into the WP Super Cache Settings page, you may now start configuring WP Super Cache.
- Navigate to the Advanced Tab.
- Tick the “Enable Caching” option on the top of the page.
- Set to “Expert Mode” on the “Cache Delivery Method” section.
- On the “Miscellaneous” area, make sure that “Enable Caching for all visitors” has been selected.
You may notice that the option for “Cache rebuild” has been selected. This is pre-populated by the plugin’s default settings, so leave it alone.
- Scroll down and navigate to the “Advanced” section of the settings. Select “Late init. Display cached files after WordPress has loaded.”
- Scroll down, and click the button “Update Status” to save the settings.
- Next, scroll down and look for the “Change Expiration” button on the “Expiry Time & Garbage Collection” section.
If you notice that the section is collapsed or you can’t find the “Change Expiration” button, just click on the “Expiry Time & Garbage Collection” text to expand the section.
- Look for the “Cache Timeout” form field and replace the default value to “86400.” Click “Change Expiration” to save the changes.
- Navigate to the “Preload” tab. Set preload to “0” by replacing the default value on the field within the “Refresh preloaded cache files every [ _____ ] minutes. (0 to disable, minimum 30 minutes.)” text.
- Make sure you click the “Save Settings” button before you go on to the next step.
- Debug Settings: Disable “Cache Status Messages.”
- Navigate to the “Debug” Tab. On the page, you might find that the “Cache Status Messages” option has been enabled by default.
- Click the box to deselect the option.
- Scroll down to the bottom and hit “Save Settings.”
For The Geeks: Advanced Configuration
You may want to explore how powerful WP Super Cache could be, so here are some excellent articles from around the web on your advanced options for configuring WP Super Cache:
- Configure WP Super Cache by WebAware
- How To Install And Configure WP Super Cache by FixRunner
- WP Super Cache Settings Tutorial: How to Configure WordPress Caching Plugin by CoralNodes
The Wrap
Now that you have configured WP Super Cache, you may now enjoy faster loading times for your website, and its ultimate effect of ensuring lower bounce rates, better conversions, and better search engine optimization!


