- Go to your CLDY cPanel.
- Usually, this can be found on your domain, with this format:
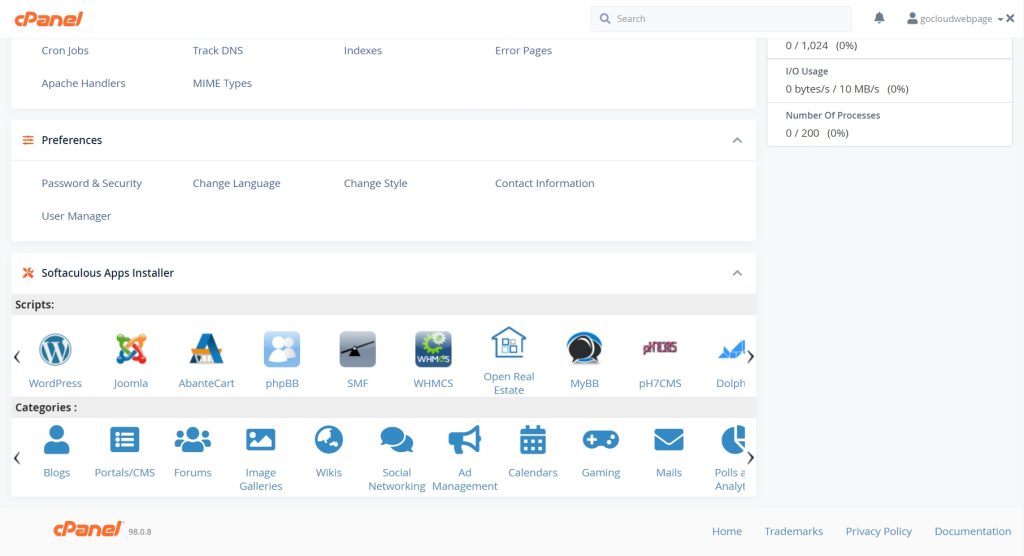
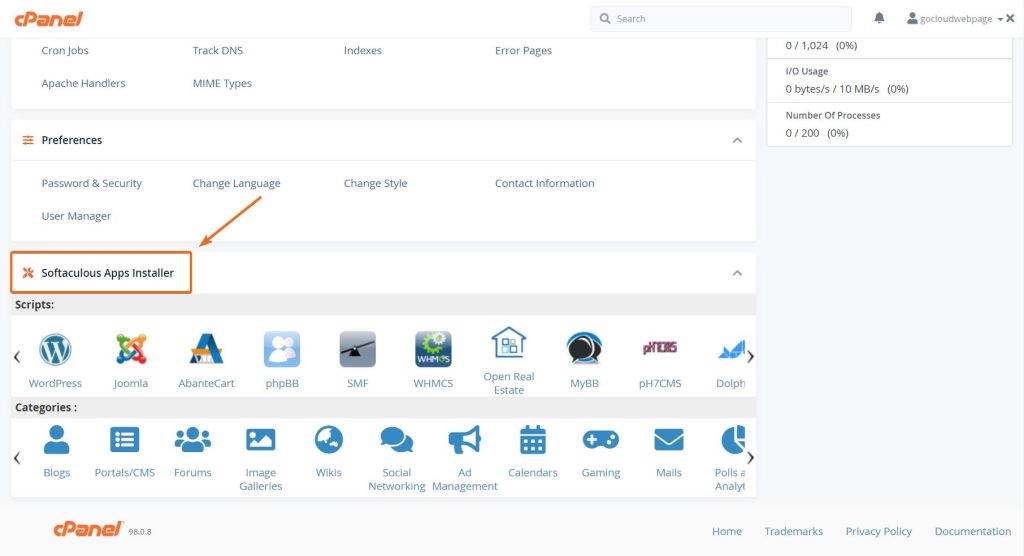
- Find the section “Softaculous Apps Installer.”
- On CLDY, this is at the bottom of the cPanel area.
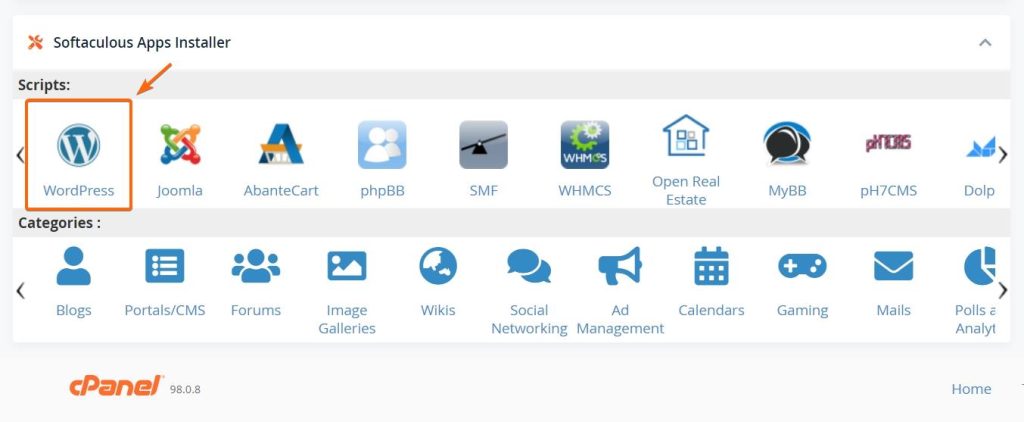
- Find the “WordPress” icon.
- On the CLDY cPanel, this is at the leftmost of the Softaculous section.
- Click the WordPress Icon.
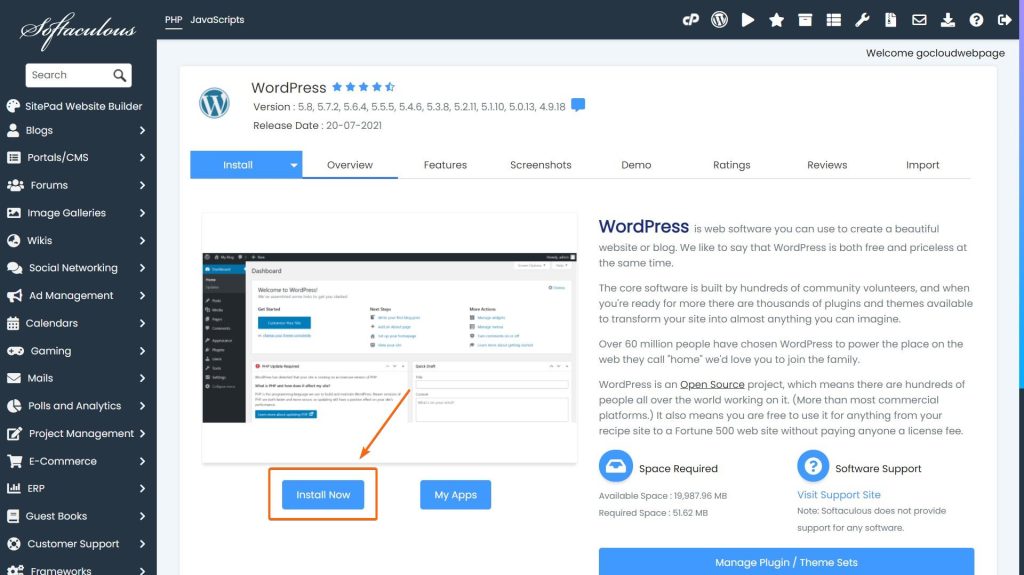
- Click “Install Now,” as indicated on this screenshot:
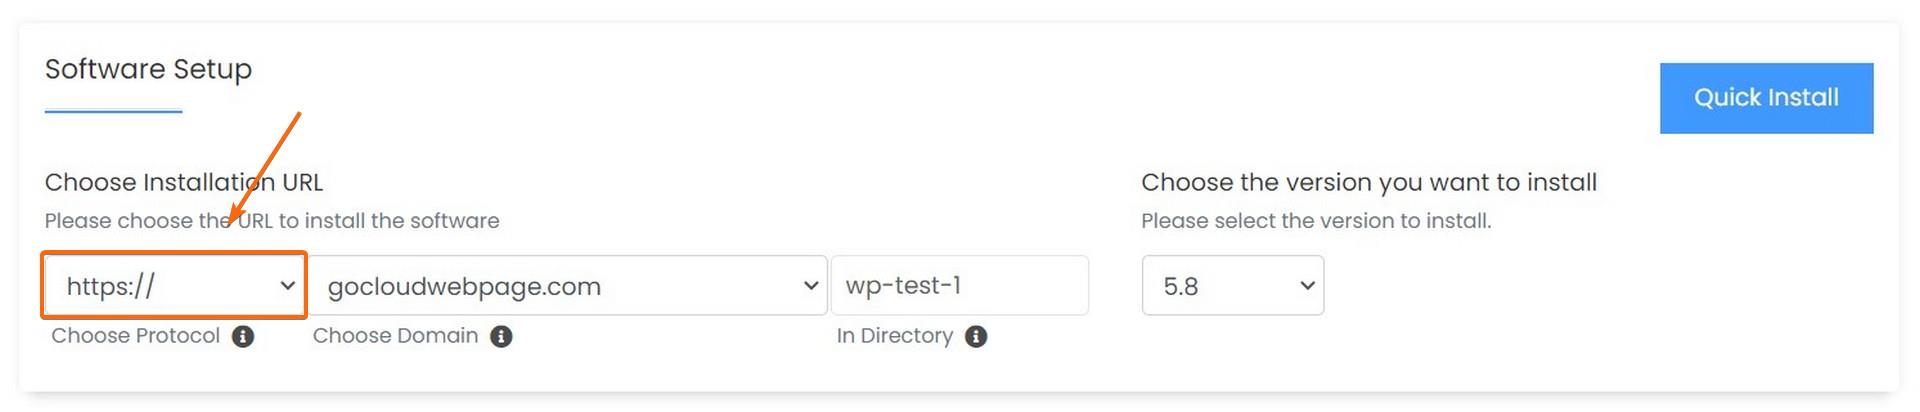
- Fill the details you need to install WordPress on your domain or subdomain.
-
- Fill in the http/https protocol format that you prefer.
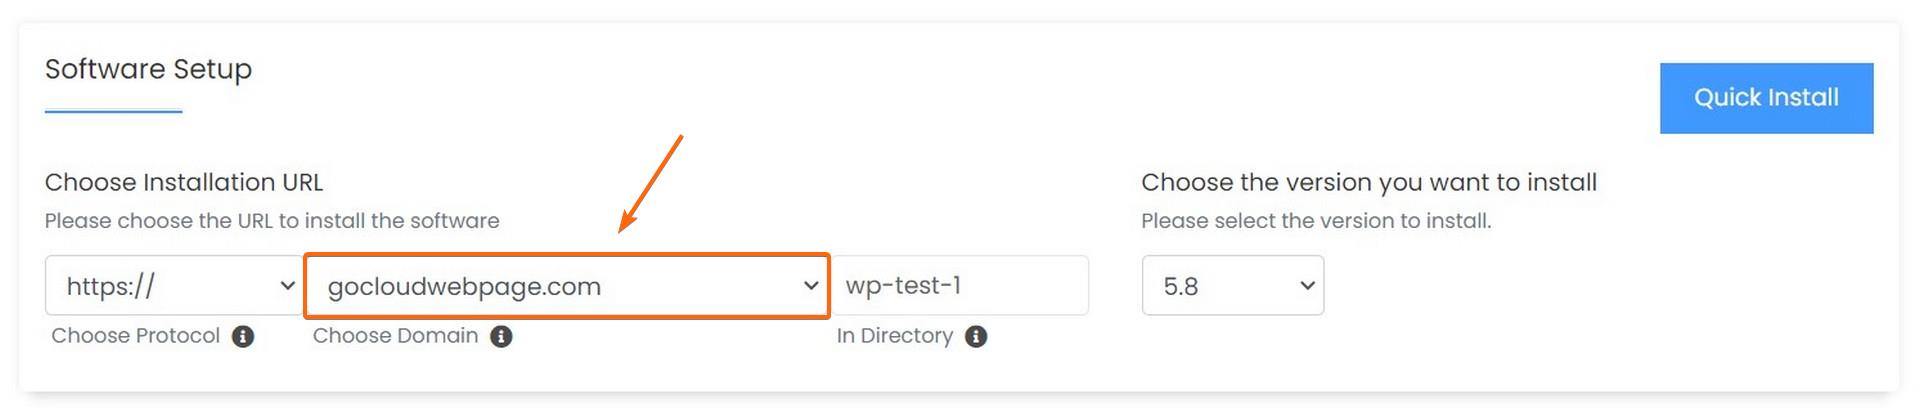
- Select the domain you want to install WordPress on. This is especially applicable if you have multiple domains on your CLDY hosting account.
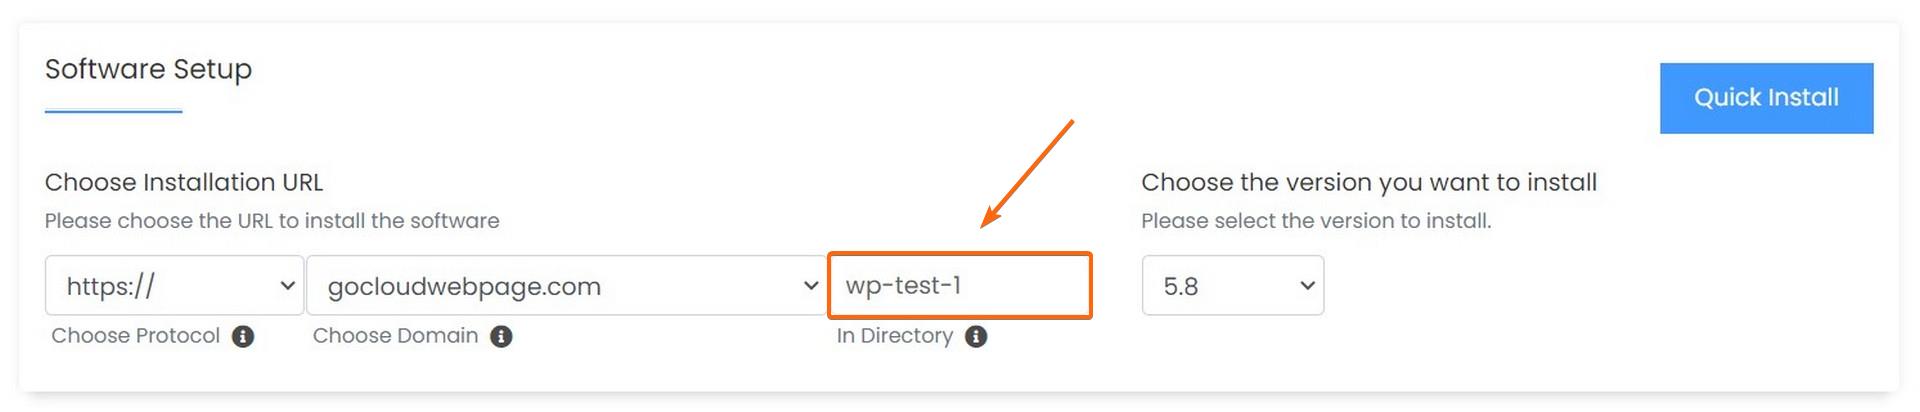
- Indicate the folder you want to install WordPress on.
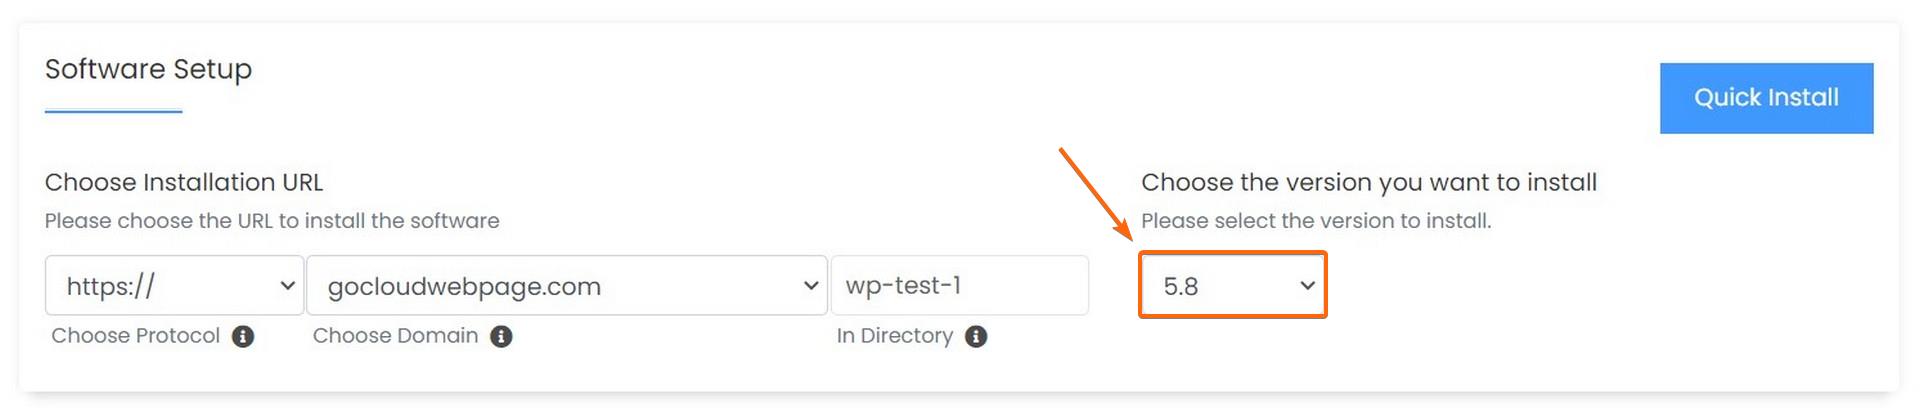
- Choose the WordPress version you want to install.
* Make sure to empty the “In Directory” if you want to install on the root document of the domain

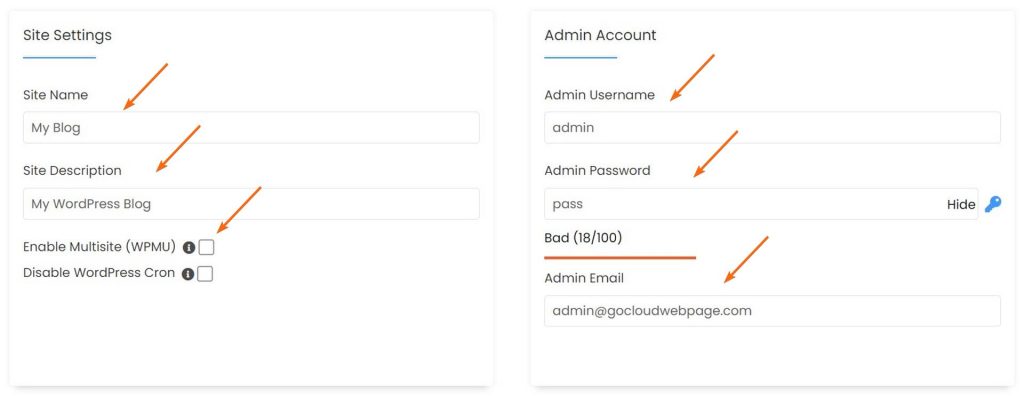
- Fill in these details:
- Website Name
- Site Description or Tagline
- Select whether you want a multi-site installation or not
- Admin Username
- Admin Password
- The Admin Username and Password are your login credentials to your WordPress Website.
- Admin Email―This will be where the installation details will be sent, as well as where password reset requests will go to.
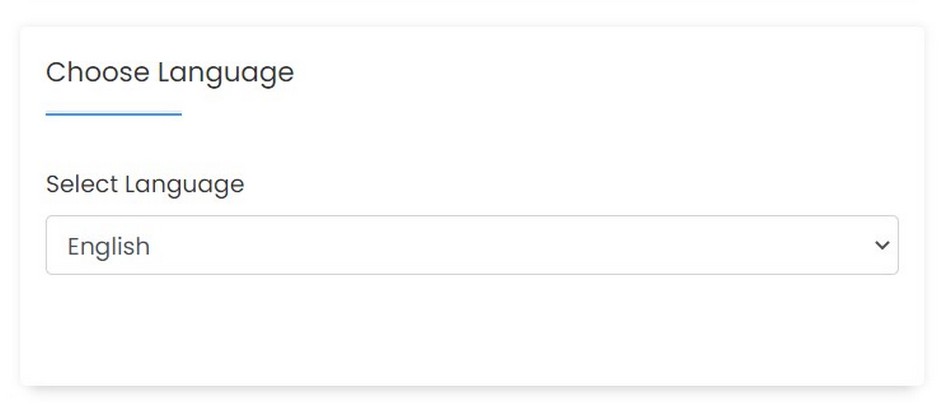
- Choose the language you want your WordPress interface to be in. Major languages are available.

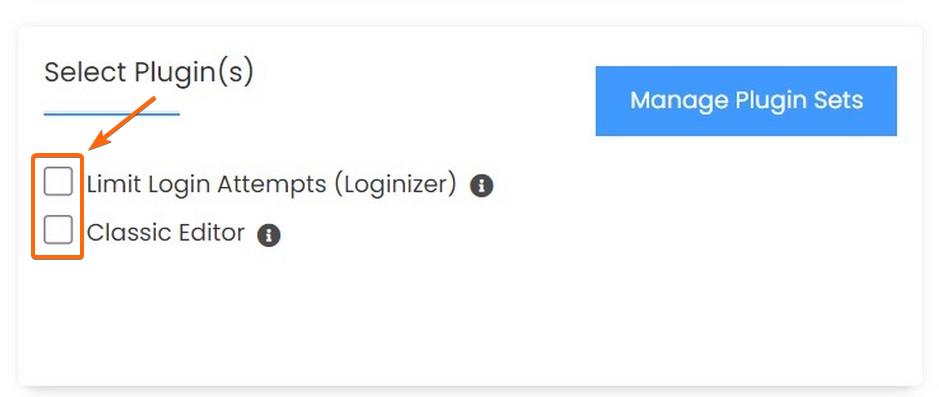
- Choose if you want to pre-install some plugins. You can also create plugin sets even upon install.
- If you want to have a security system that limits login attempts in the case of brute force hacking, you may want to tick the box for “Loginizer” or whether you want to Limit Login Attempts.
- If you’re a fan of the Classic Editor instead of the current WordPress editor, you may also choose to install that, as well.

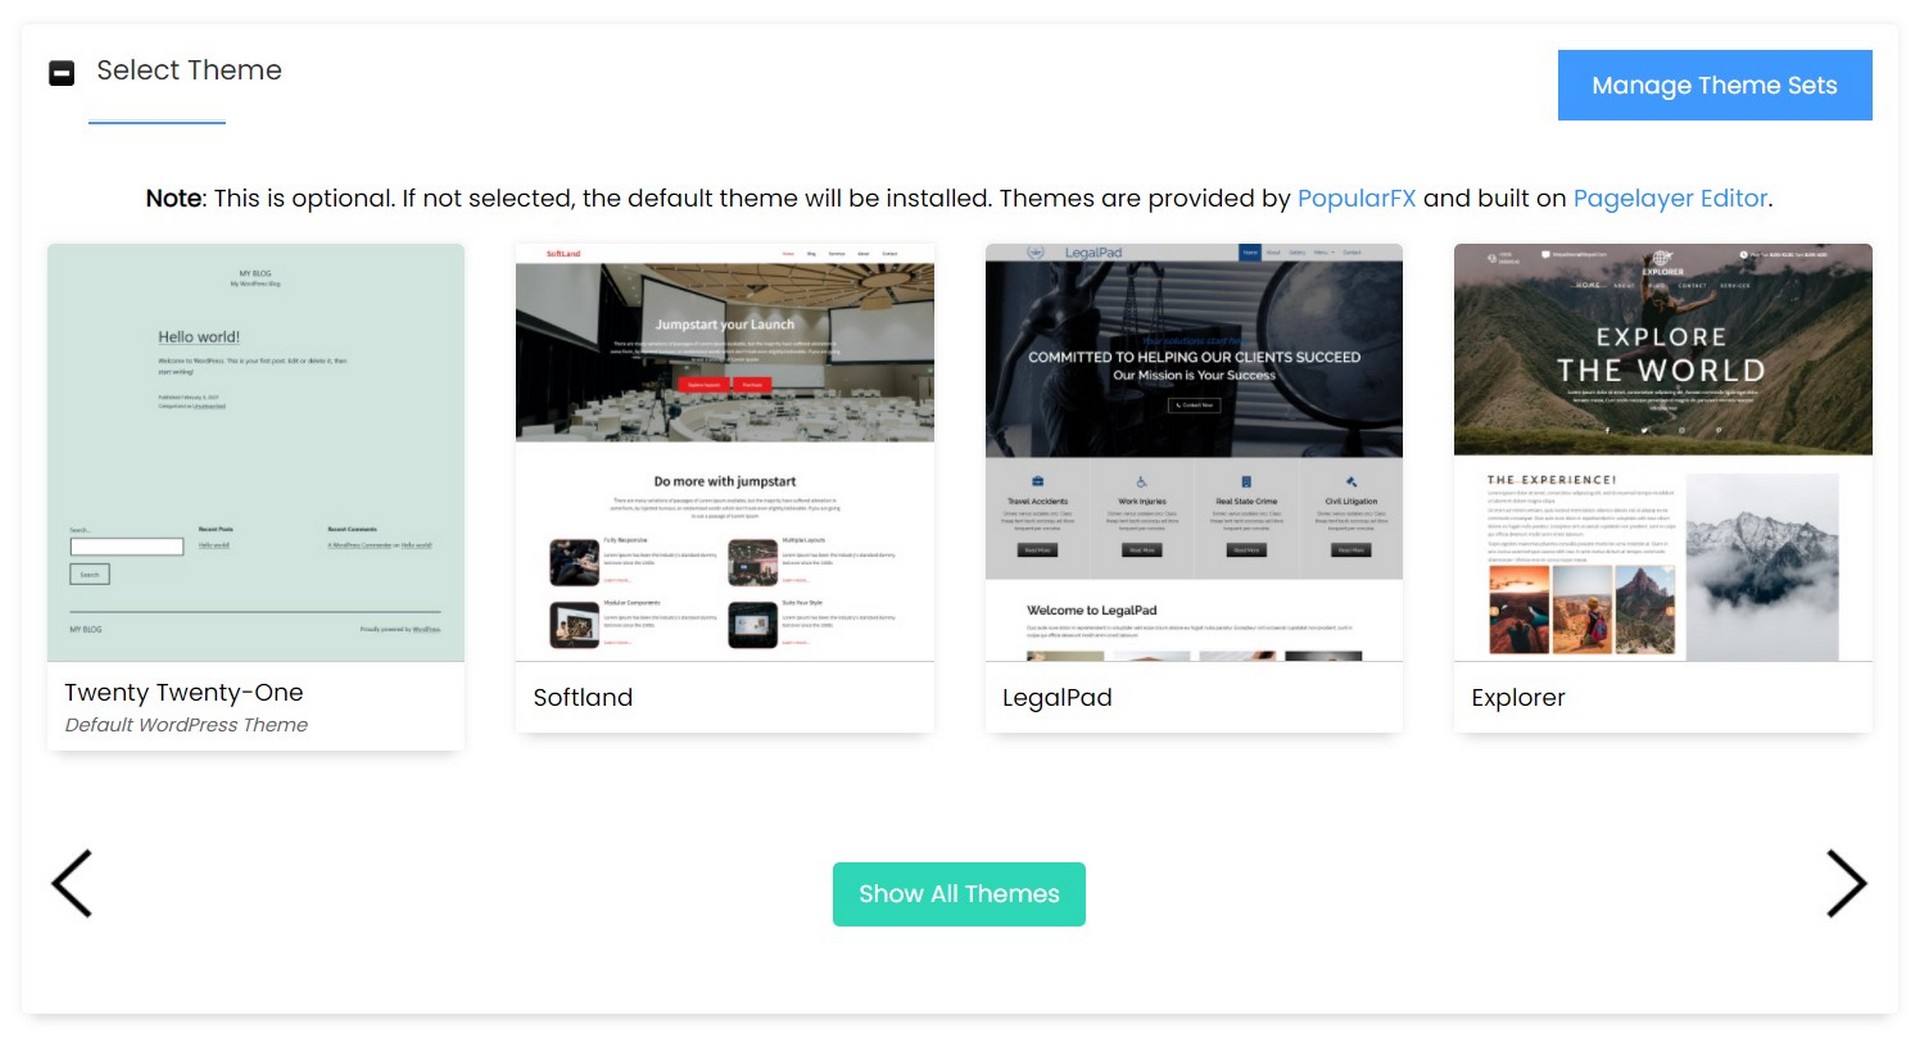
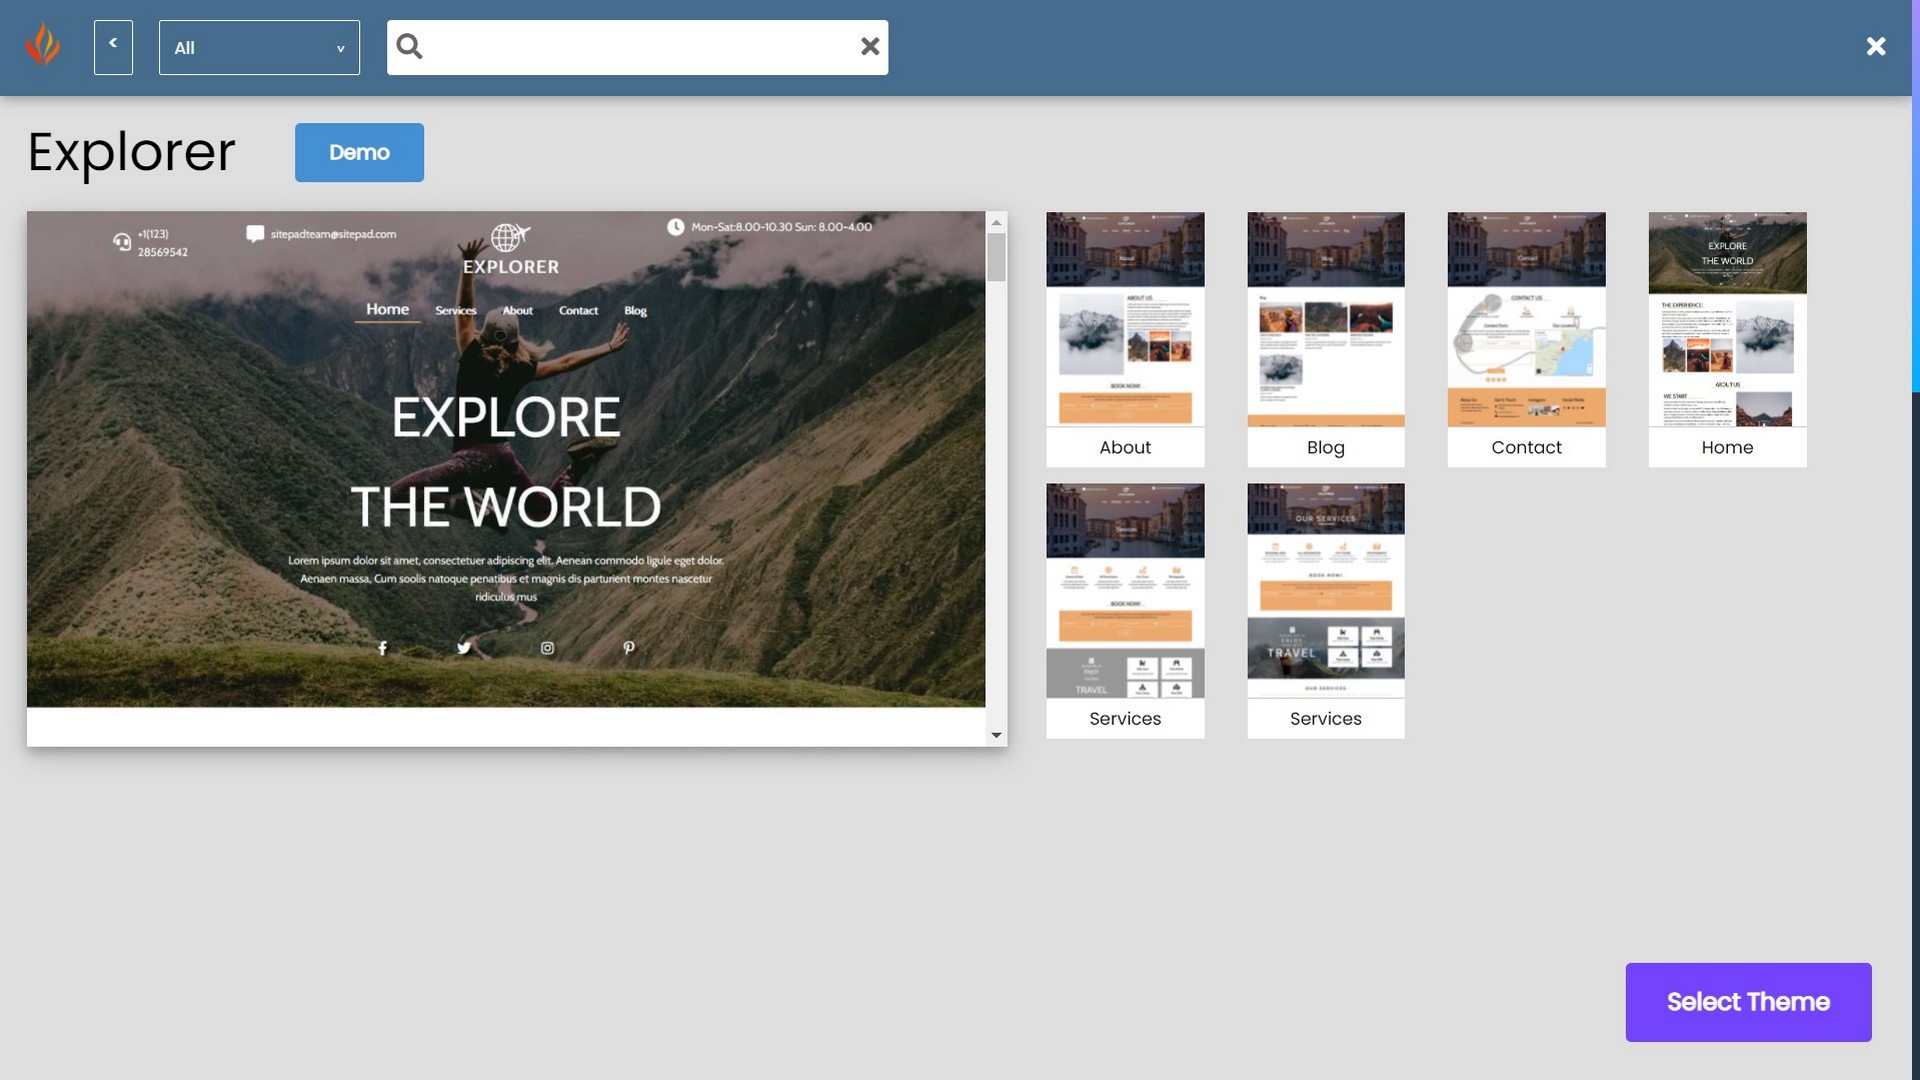
- Select the theme you want to pre-install with your WordPress.
- You don’t have to get stuck with the boring default WordPress theme! Choose a cool and snazzy one instead!
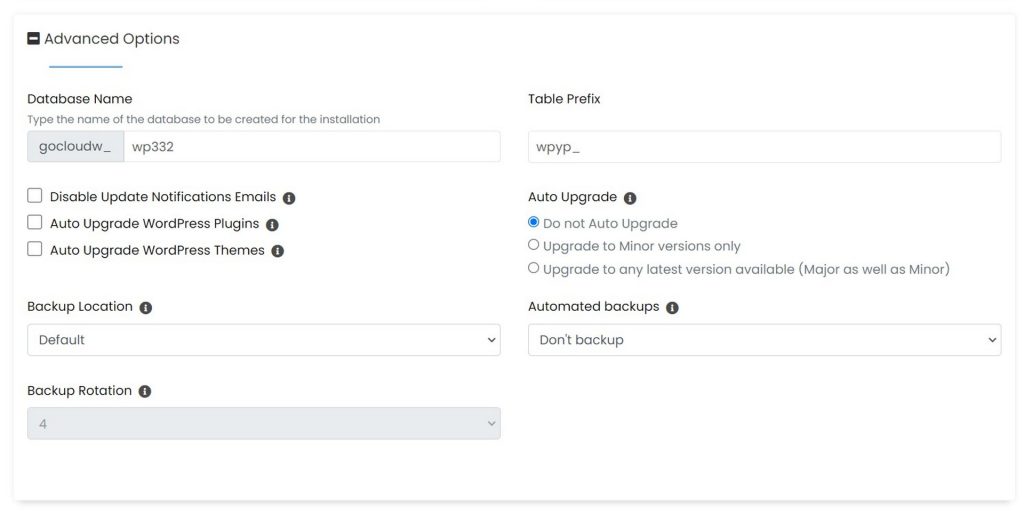
- If you feel like customizing your WordPress installation further, you may click the Advanced Options drop-down menu and customize a few more options:


-
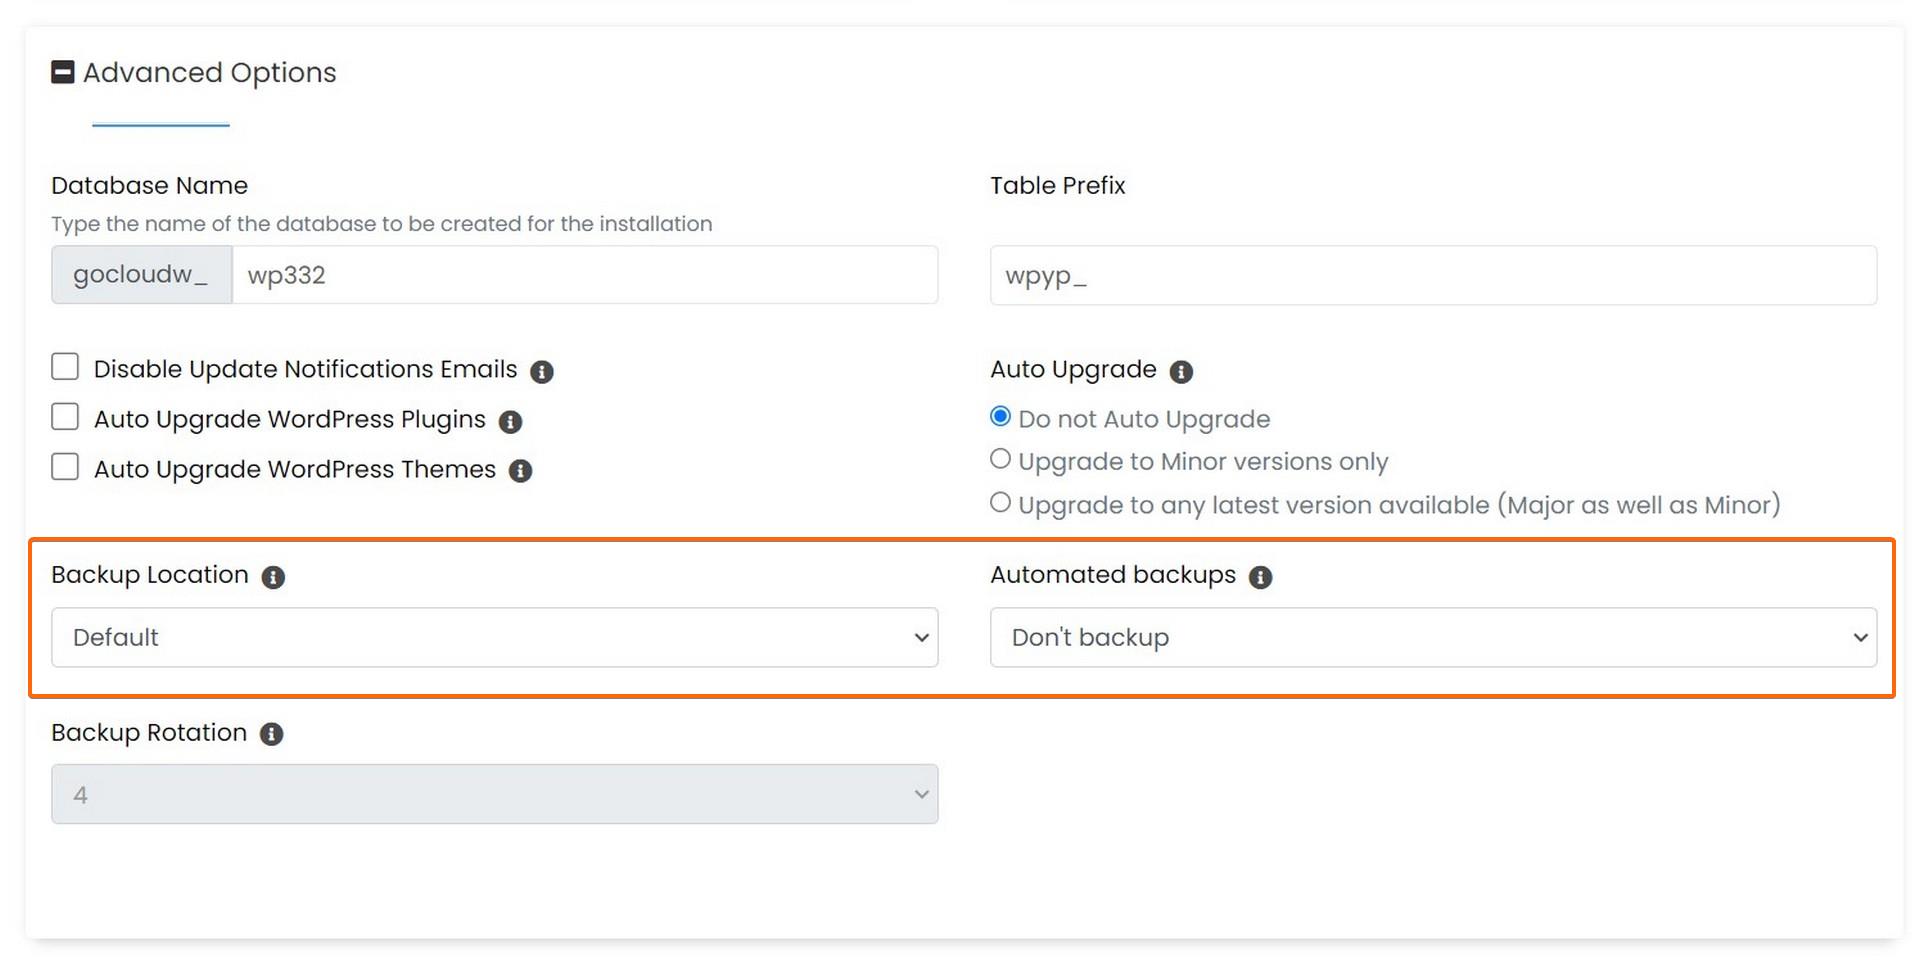
- Customize the Database Name to your own coding system, or something more human-friendly if you like.

-
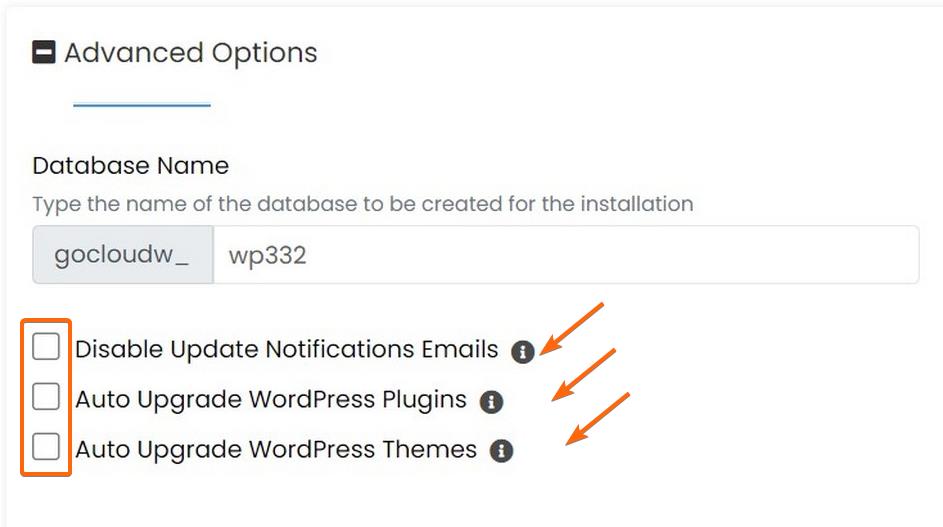
- Tick if you want to enable/disable:
- Update Notifications Emails (Tick to DISABLE if you don’t want to get update emails from WordPress)
- Tick to ENABLE:
-
- Auto Upgrade WordPress Plugins
- Auto Upgrade WordPress Themes
- Ticking these options will allow WordPress to Upgrade your Plugins and Themes automatically, without a need for you to set or monitor anything.
-
- Tick if you want to enable/disable:

-
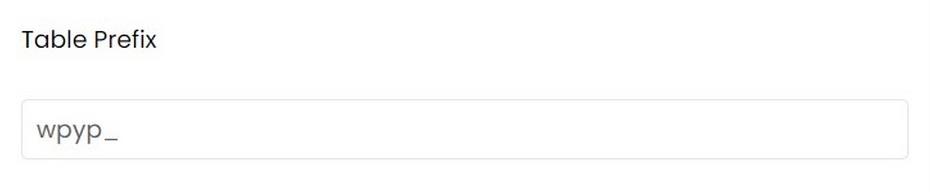
- Modify the Table Prefix to your own coding system, or use a more human-friendly table prefix.

-
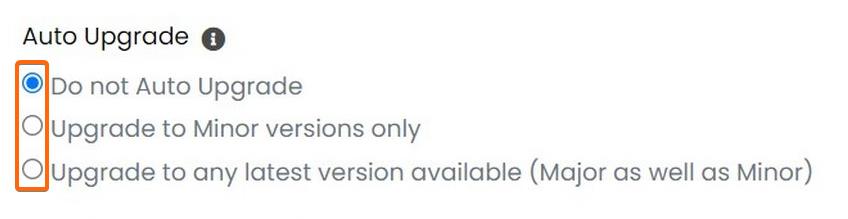
- Modify the Auto Upgrade options.
- Upgrade to any latest version available:
- This is great if you have regular backups, so it would be easier to restore if an upgrade corrupts your website.
- Advisable if you want to free up time spent doing routine website maintenance tasks.
- Advisable only if you have regular backups that have saved your latest work.
- Upgrade to Minor versions only:
- Minimizes the risk of major data losses, if WordPress accidentally rolls out a buggy update.
- Advisable for those who can’t afford major risks to their data and their website.
- Upgrade to Minor versions only:
- Upgrade to any latest version available:
- Modify the Auto Upgrade options.

-
- Backup Options:
- Choose where to save your backups by defining this on “Backup Location.”
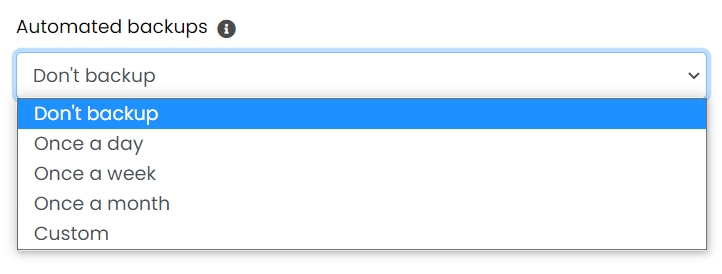
- Choose the frequency of Automated Backups, or whether they will be allowed at all.
- Automated Backups will cause your backup files to take up increasingly more space on your CLDY Hosting account, so be careful with this option.
- A less frequent backup schedule will strike a balance between preserving hosting space and security.
- However, a less frequent backup schedule will be less likely to preserve more recent data.
- Make your choice based on your priority: Data preservation, or saving hosting disk space.
- Backup Options:
- Are you ready? Hit INSTALL!
- A copy of your installation details will be shown on the final screen. You may save the information for later use.
- A copy of your installation details will be sent to the email address you indicated on “Email installation details to :” Save this for future reference.

Softaculous is more than just installing WordPress. Read on here to know the list of applications supported by Softaculous.
Curious about the software you’ve just installed? Here are a couple of articles that may help you learn more about WordPress and Softaculous: -