What Is Whitelisting?
Whitelisting is a type of spam filtering wherein you tag email addresses and domains to make sure you receive their messages.
While we have our own filters for you to customize via SpamAssassin, we know you want that additional security when you have your emails linked to another platform. So, let us show you how to do whitelisting in Office365.
How To Whitelist In Office365?
- Log in to Office365.
- Click on Admin.
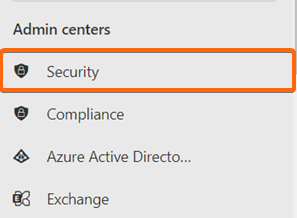
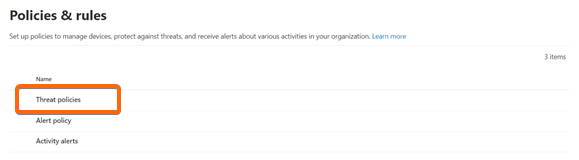
Under Admin Centers, go to Security. - On the next page, click on Threat policies.

- Next, go to Anti-spam.

- Then click on Anti-spam inbound policy (Default).

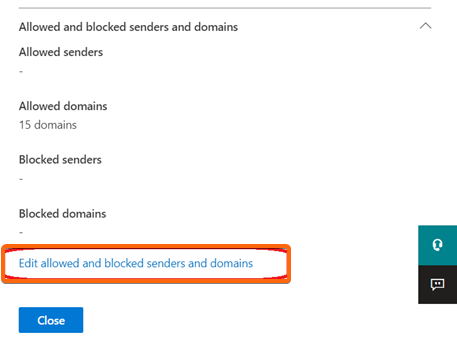
- Scroll towards the bottom and select Edit allowed and blocked senders and domains.

- Under Allowed, select either Senders or Domains.


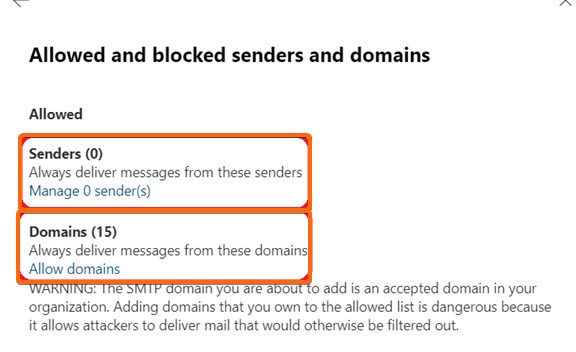
- For adding senders
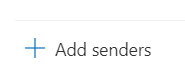
- Click Senders from the selection above, and select Add Senders.

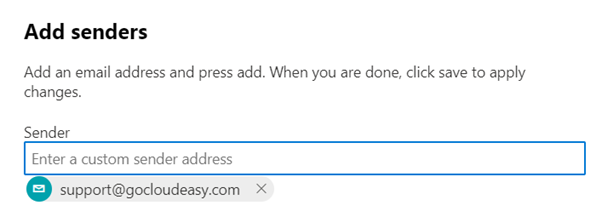
- On the next window, type in the email address you want to add to your whitelist, and hit Enter on your keyboard. The email address should appear right below the textbox.

- Then click on Add senders.

- Click Senders from the selection above, and select Add Senders.

- For adding domains
- Select Domains from the previous window.
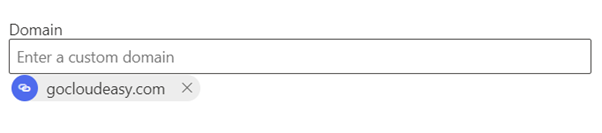
- Type in the domain (no need to add the entire address) and hit Enter. The domain will be visible under the textbox.

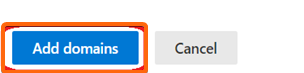
- Click on Add domains.