
You may have come across various email hosting providers over the vast time you have been on the Internet. You’re not alone. You may also have an array of different emails from each provider, just to see which suits your style better. Here in CLDY, we encourage you to link your webmail across whichever platform you think is best for your business needs.
For linking your CLDY webmail (via POP) to your GMail account, go here to know more.
Right now, let’s start syncing your CLDY webmail to Outlook via the Control Panel. To start:
- Open the Control Panel.
- Your cursor will automatically be at the search bar. Type in “Mail”.

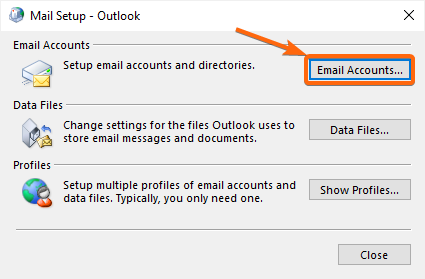
Choose Mail (Microsoft Outlook) from your search results. - At the new window, select Email Accounts.

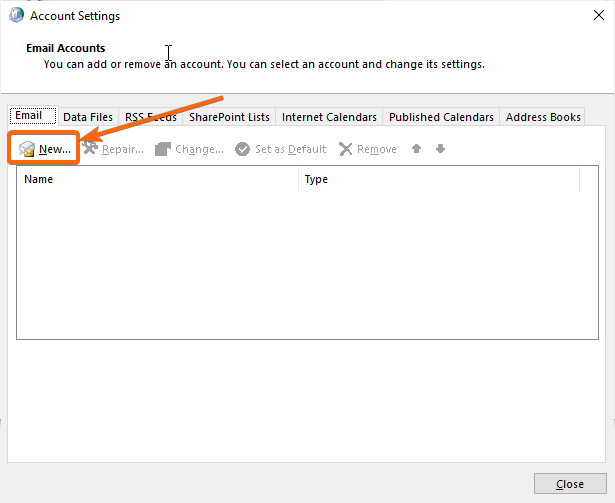
- On this window, go to the Email tab, and click New.

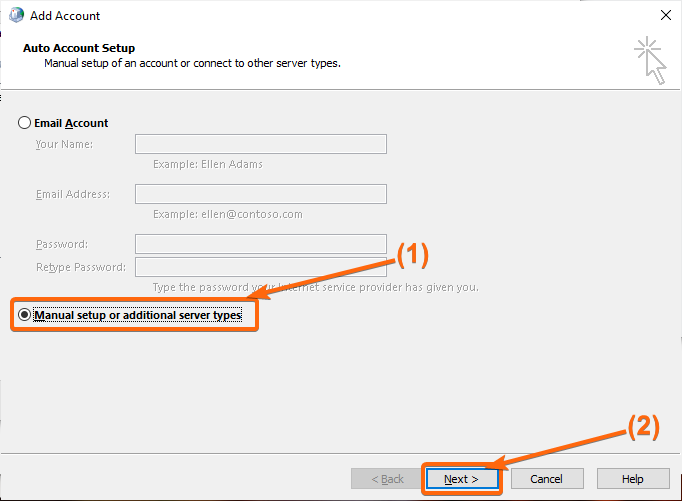
- Another window should show up, where you will need to select Manual setup or additional server types.

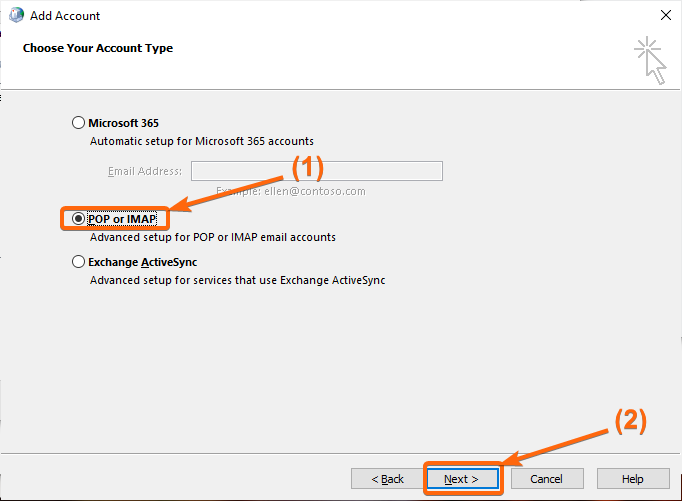
Once done, click on Next. - Choose POP or IMAP in the next window’s options, and click Next.
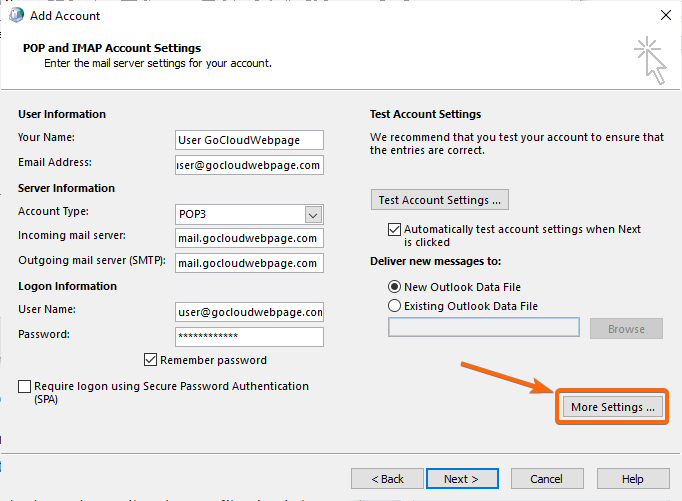
- The POP and IMAP Account Settings window is where you will need to type these information in (select options), in accordance to your CLDY mail client settings:
User Information
Your Name: (name you want to appear in your Outlook POP inbox)
Email Address: (your CLDY email)
Server Information
Account Type: POP (select from dropdown)
Incoming mail server: mail.gocloudwebpage.com (replace gocloudwebpage.com with your domain)
Outgoing mail server (SMTP): mail.gocloudwebpage.com (replace gocloudwebpage.com with your domain)
Logon Information
User Name: (your CLDY email)
Password: (your CLDY email password) - You will now configure the additional settings. Go to the Outgoing Server tab.
Check on the box indicating My outgoing server (SMTP) requires authentication.
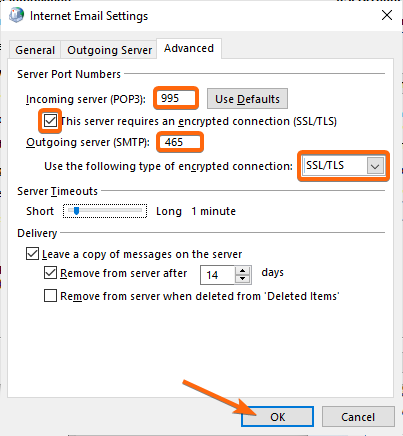
Go now to the Advanced tab, and set up the following:
Server Port Number
Incoming server (IMAP): 995
Use the following type of encrypted connections: SSL/TLS
[Tick the checkbox This server requires an encrypted connection (SSL/TLS).]
Outgoing server (SMTP): 465
Use the following type of encrypted connections: SSL/TLS
Setting your email on POP allows you to modify how long you want your messages to stay on your original server, or if you do not want them to be retained at all. You can change those settings under the Delivery section of this page.
If you’re set, click on OK.
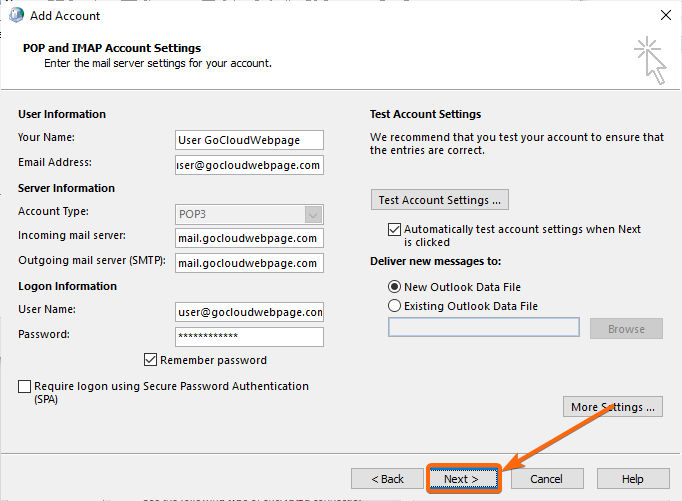
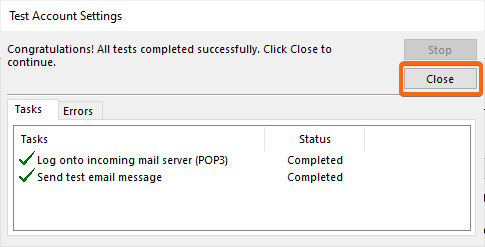
You should be redirected to the POP and IMAP Account Settings page. Now that you have everything set up properly, click on Next. - Wait for Test Account Settings window to show up, and to give you a successful message like it appears here:

Click on Close.
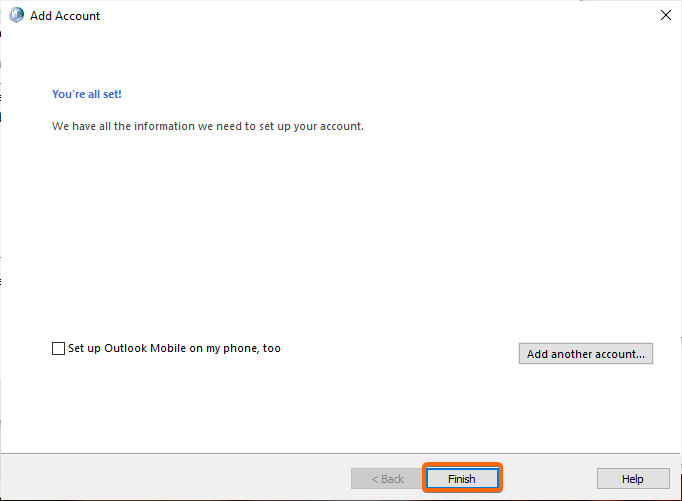
Click again on Finish to complete setting up.

To check, launch Outlook. You should see your POP configured email right away. To further ensure that all emails come in properly, click on the Send/Receive tab, and hit Send/Receive All Folders.
You’re good to go!


