
Your content becomes engaging when you mix and match it with related images, videos, and other media files. This helps you enhance your content and entice your audience with what you are featuring on your website. To help you out in adding and uploading media files to your website posts, follow the steps here:
Upload Media Files Within A Post
- Login to your WordPress site.www.yoursamplewebsite.com/login
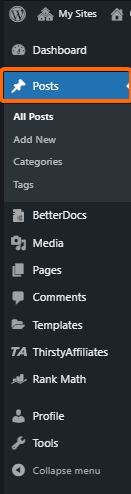
www.yoursamplewebsite.com/wp-login.php(Make sure to change “yoursamplewebsite” to your own domain name.) - You will be taken to your WordPress dashboard. Click on Posts to Add New, or edit an existing post.

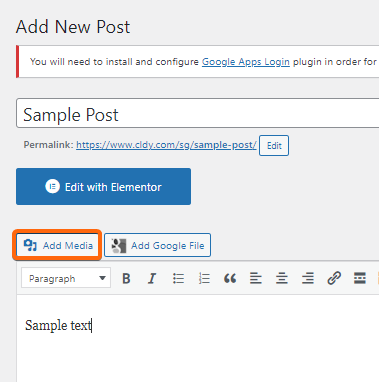
- Click on Add Media.

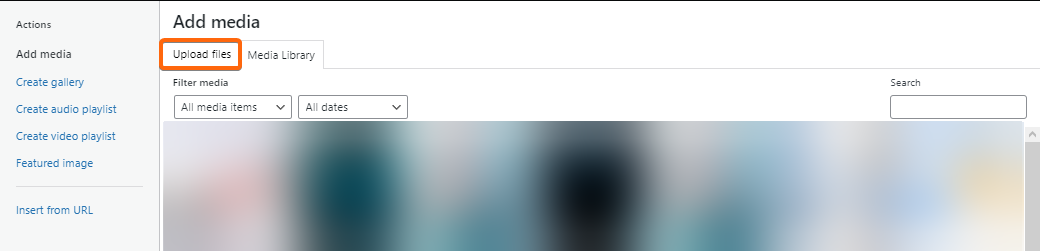
- Your Media Library will pop-up on your screen, where you will see existing media files previously uploaded on your WordPress.

To upload a new file, click on Upload Files.
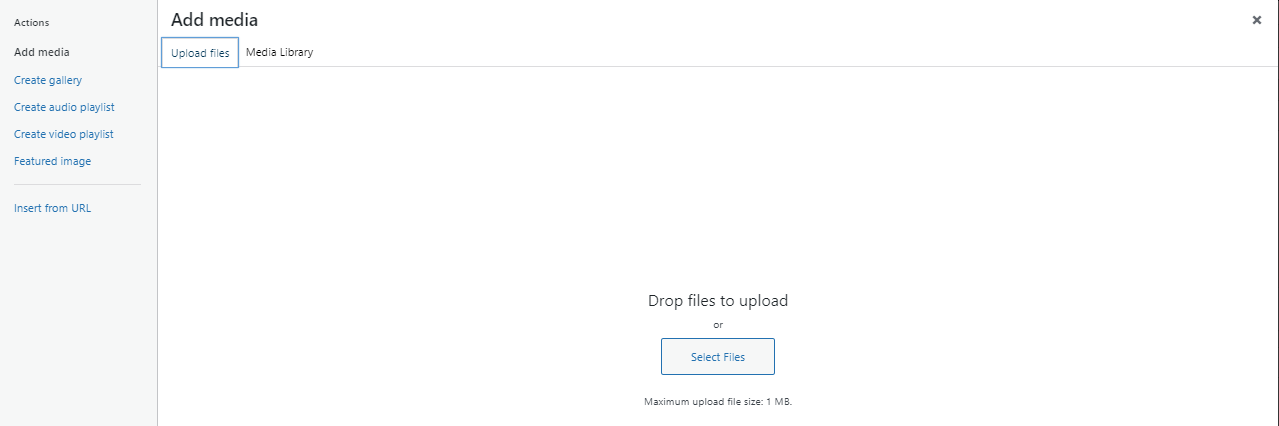
You can drag and drop your selected file, or click on Select Files to manually locate the media file you want to upload.
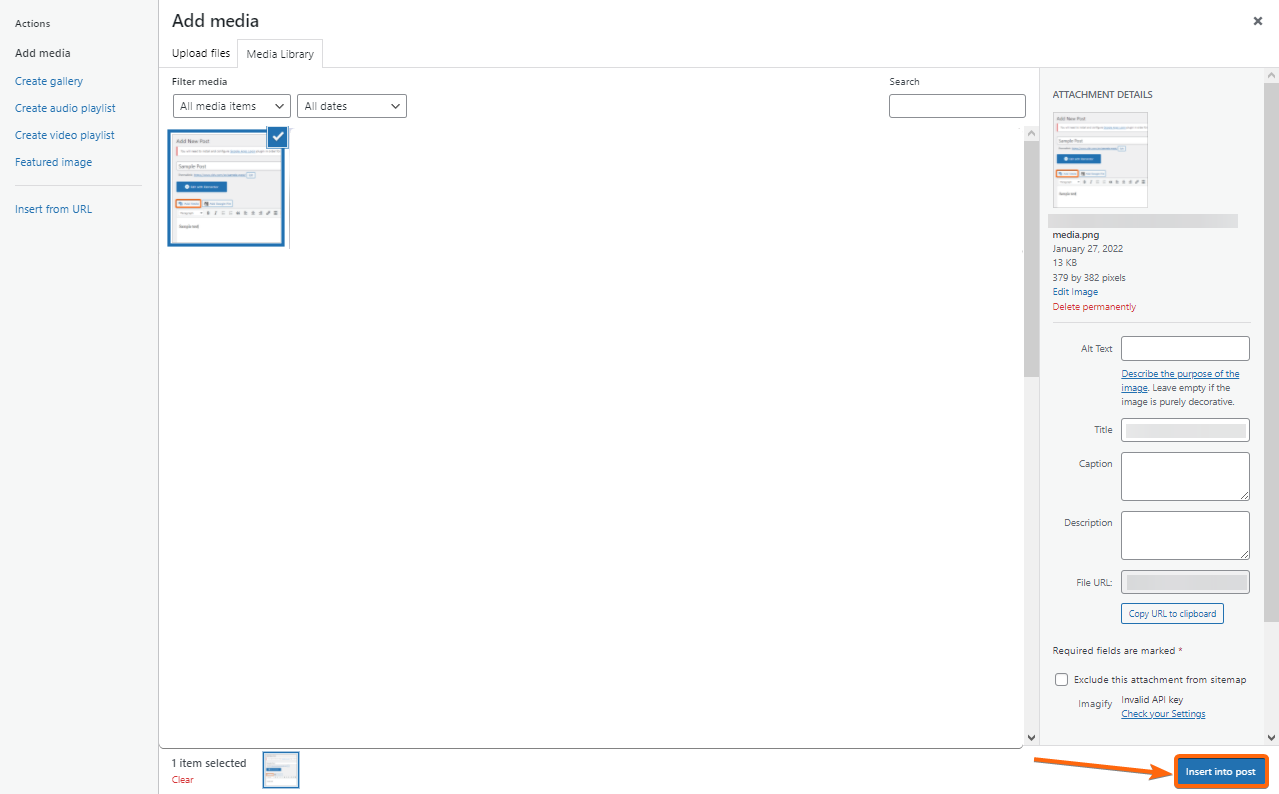
- Once completed, you will be routed back to the Media Library where the completion of your upload will show, and your media file will also be selected.
 To add the uploaded file to the post, click Insert into post.
 - The photo, video, or audio file will automatically be added to the new/existing post you have created.
 To add the uploaded file to the post, click Insert into post.
Upload Media Files For Later
If you would like to store your media files for later use, you can also do so! Here’s how:
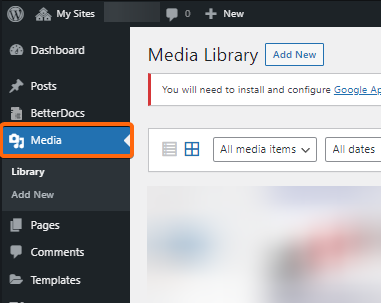
- On your WordPress dashboard, click on Media.

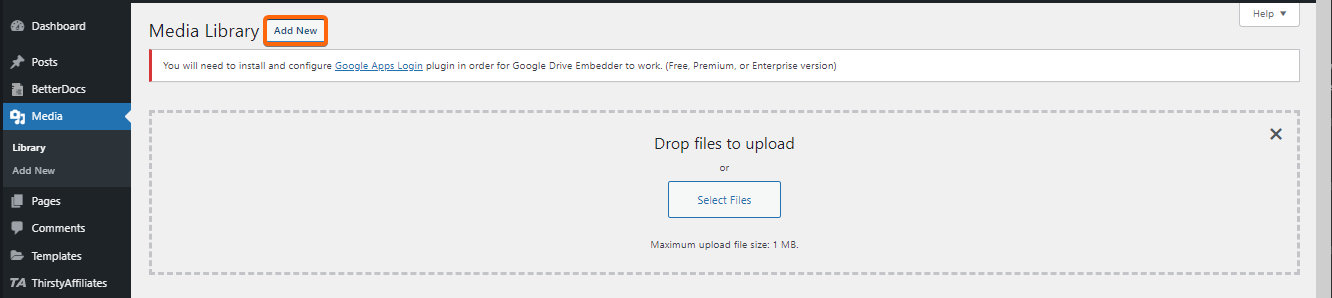
- You will be taken directly to the Media Library. Click on Add New to upload more media files.
 In the same page, you can add your files by drag and drop or clicking on Select Files.
 - You can view your media files on the same page as they complete upload.
 In the same page, you can add your files by drag and drop or clicking on Select Files.


