
Update your Menu text and URL in any way you like using Divi’s built-in options. We’ll show you how to do it effortlessly and you’ll see why you can do it yourself without any need for technical support. Let’s get to it!
1. First, login to your WordPress dashboard.
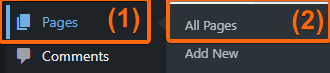
2. Go to Pages, and click on All Pages.
3. For this tutorial, we will select the Homepage and modify the Menu Text there. Hover over the Home section and click Edit With Divi.

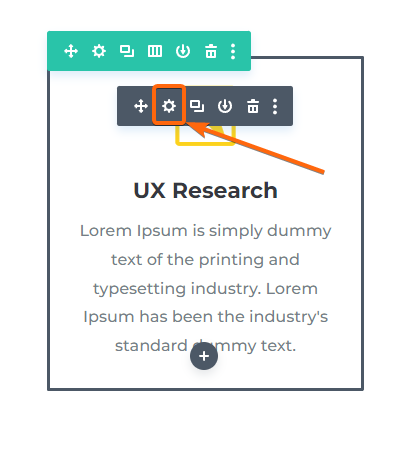
4. The Divi Builder will now appear on your screen. Scroll to the Menu section that you want to update. For this part of the tutorial, let’s go with the Menu for the services. Hover over the specific Menu selection you will be updating, and click on the gear icon within the gray bar.
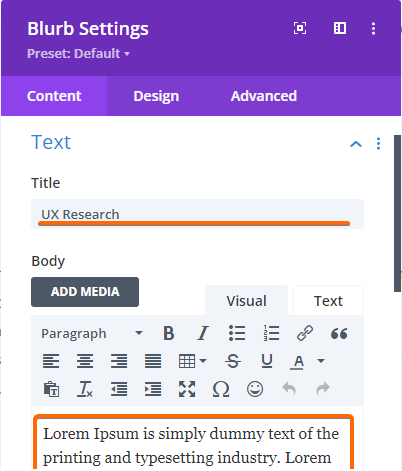
5. Under the Text dropdown, you can edit the title of the Menu and the blurb under it.
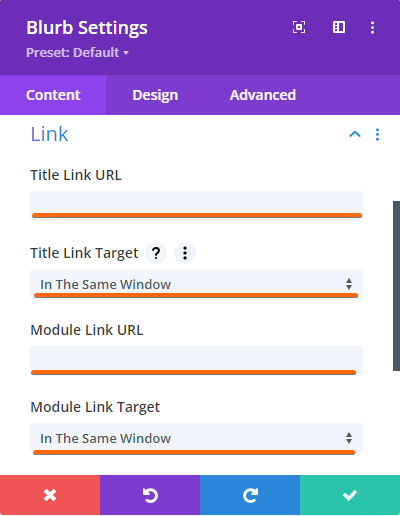
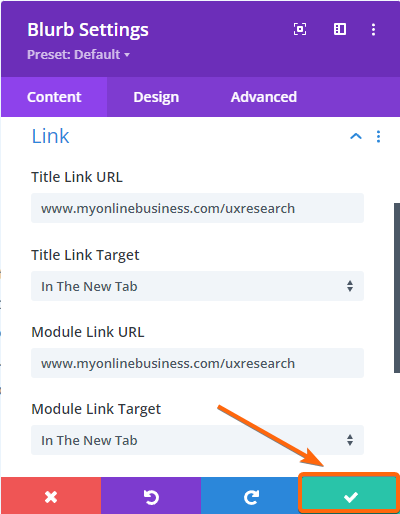
6. Scroll to the Link section and expand it, so you can update the URL for both the Title and the Module. This way, whichever the user clicks, they will get directed to the same page you want them to be taken to. You can also opt to direct your users to another tab or have the URL open in the same window.
7. Once everything is set, you can click on the check button at the bottom right of this window.
8. Go ahead and change the Menu text and URL for the rest of the page so you can get it ready for launch. When you’re done, click on Exit Visual Builder.

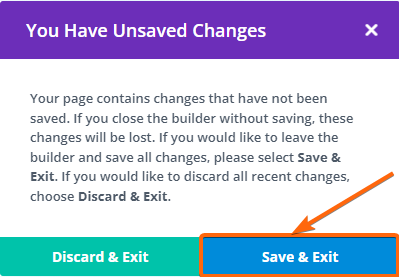
9. Don’t forget to click on Save & Exit so all changes will apply.
Now that you know how to update your Menu text and URL, you’re ready to take your first step to try out our suggested method of update. We can’t wait to see the results. So what are you waiting for? Update your Menu text and URL now.


