
Updating your Footer Text and URL is relatively easy once you know where to start. It is recommended that you download the child’s theme so your changes won’t be wiped out when you update your theme.
Stick around in this tutorial and we’ll show you the ropes on changing your Footer Text and URL with Divi through their nifty Footer settings allowing you to insert footer text and shortcode. Let’s start!
1. Login to WordPress.
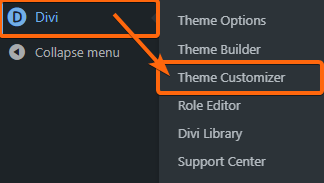
2. On the left hand side of your dashboard menu, click on Divi then go to Theme Customizer.
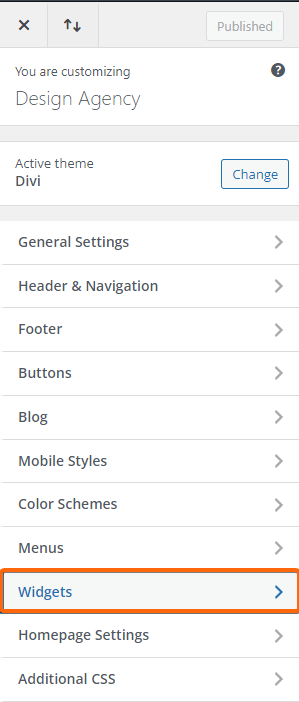
3. In the Design Agency screen, click on Widgets.
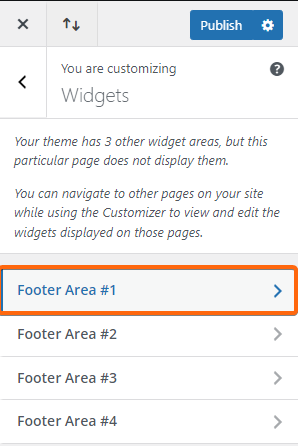
4. By default, only the Footer Area #1 will be initially populated. So let’s click on that.
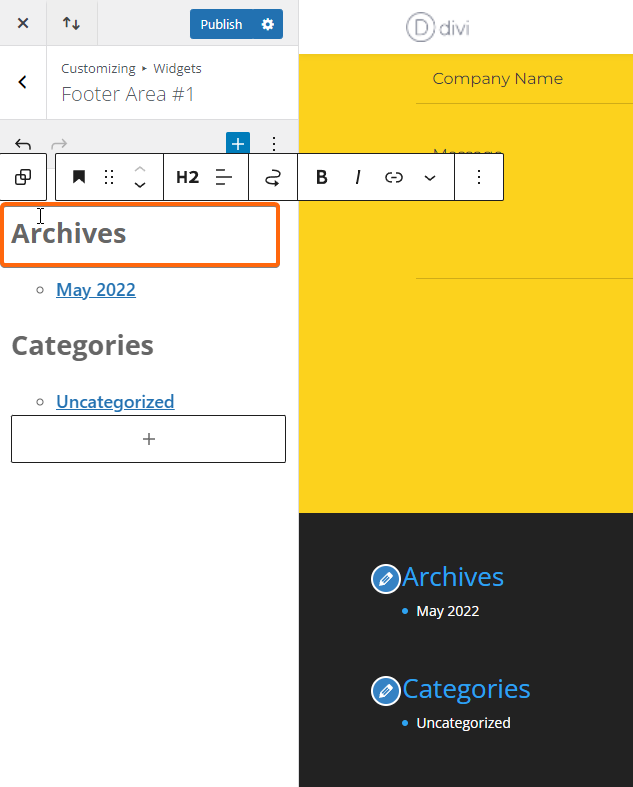
5. Click on the Header to update the text.
6. Then hover your mouse over the same section and click on the plus sign to add a block, and select Browse all to see all options.
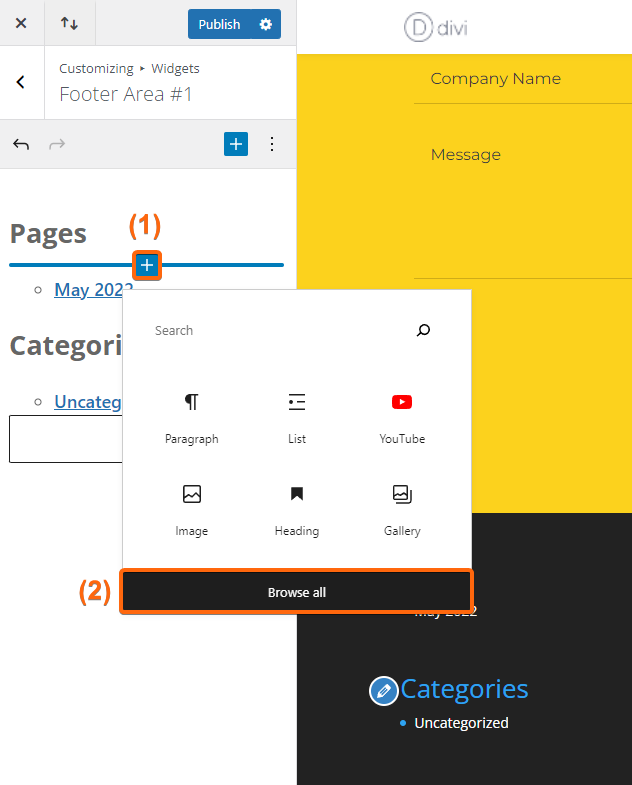
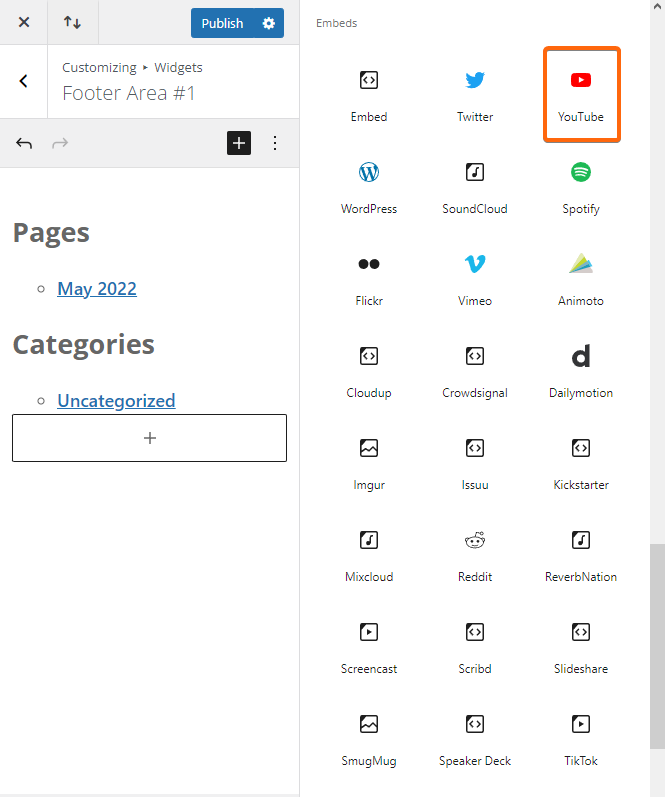
7. Just for this example, let’s select YouTube.
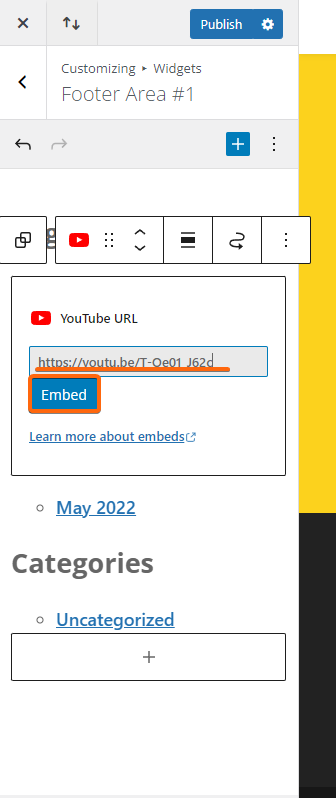
8. Paste the link of your preferred YouTube video then click on Embed.
9. The changes will automatically reflect as a preview. If you’re set, click on Publish.

10. The text should then be grayed out and indicate Published.
![]()
That’s it! Following these steps will help you successfully update your footer text and URL. Now it’s time to do it on your own. Feel free to come back to this page if you need to review the steps.


