
IMAP is typically the best way to access your emails, especially if you are using a server-based email client. It’s more secure, and keeps your emails accessible by having the ability to sync on different devices that you authorise. It sounds enticing, right? Let us show you how you can setup your IMAP email in Microsoft Outlook for iOS phone.
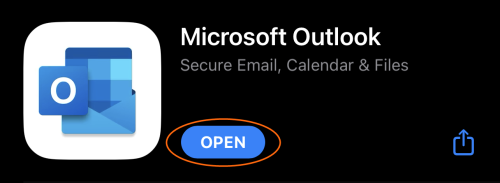
1. Open the Microsoft Outlook app on your iPhone.
2. If this is the first time you open up your app, this screen will show up. Click on Add Accounts.

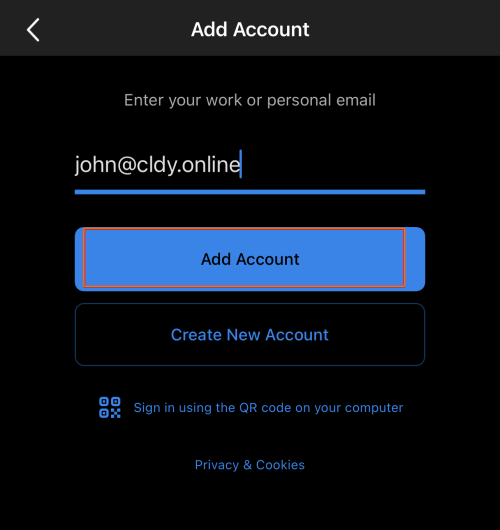
3. Type in your email address, then click on Add Account.
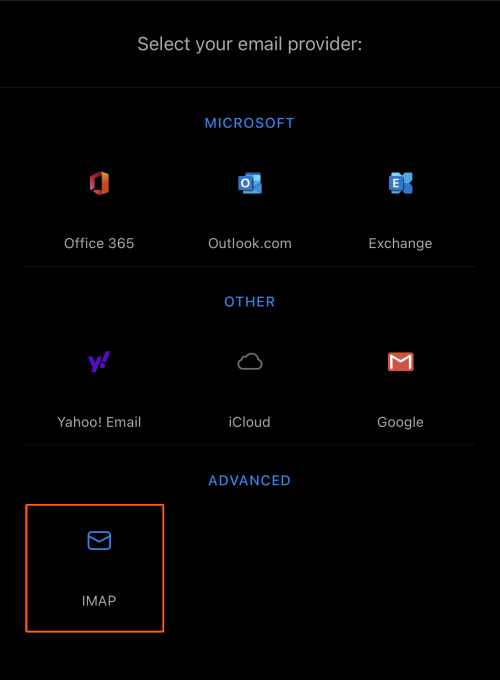
4. For the email provider, select IMAP.
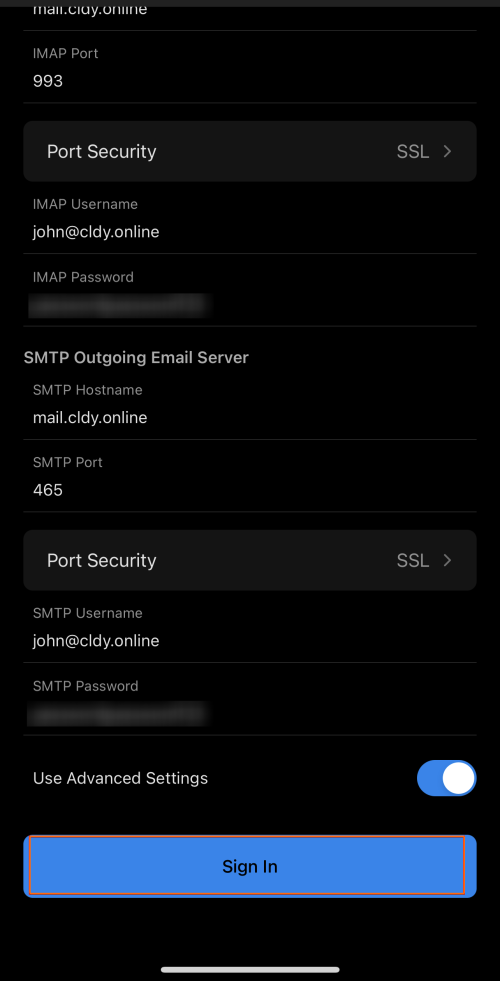
5. Fill in the IMAP email settings specified by your email provider. Once done, click on Sign In.
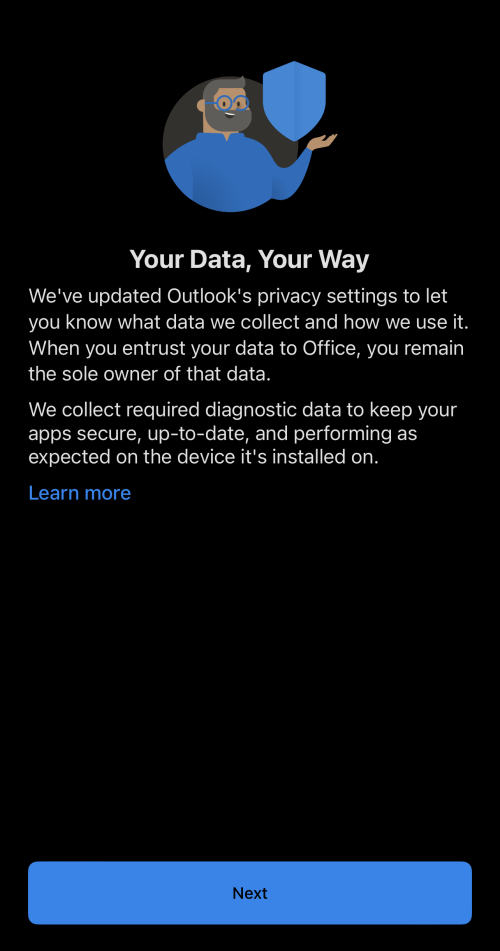
6. Microsoft Outlook’s data privacy policy reminder will show up. You can click on Learn more to have a better idea of how Outlook can protect your data, or proceed and click on Next.
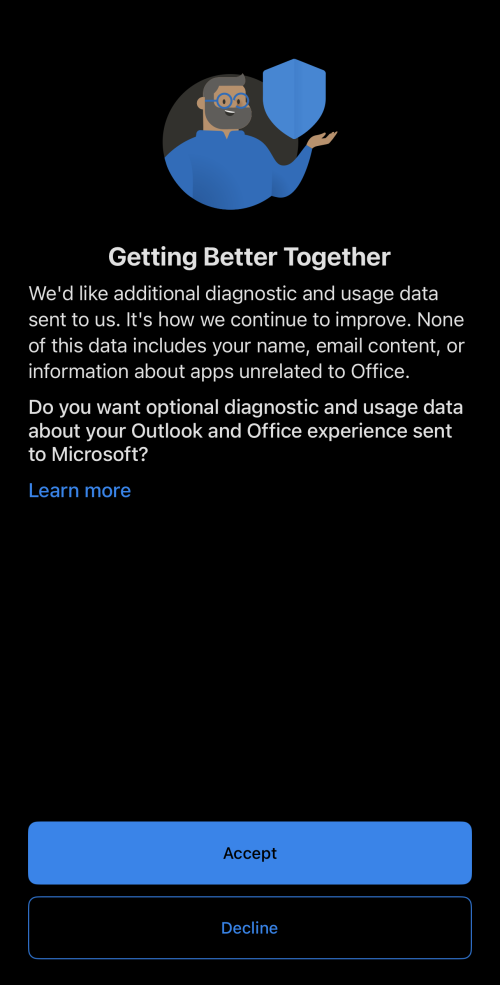
7. On this next screen, Microsoft Outlook will ask if you would like to give consent to track your usage data to further improve the platform. Click on Accept. Believe us, this will only make sure that your experience with Outlook is always at the top mark.
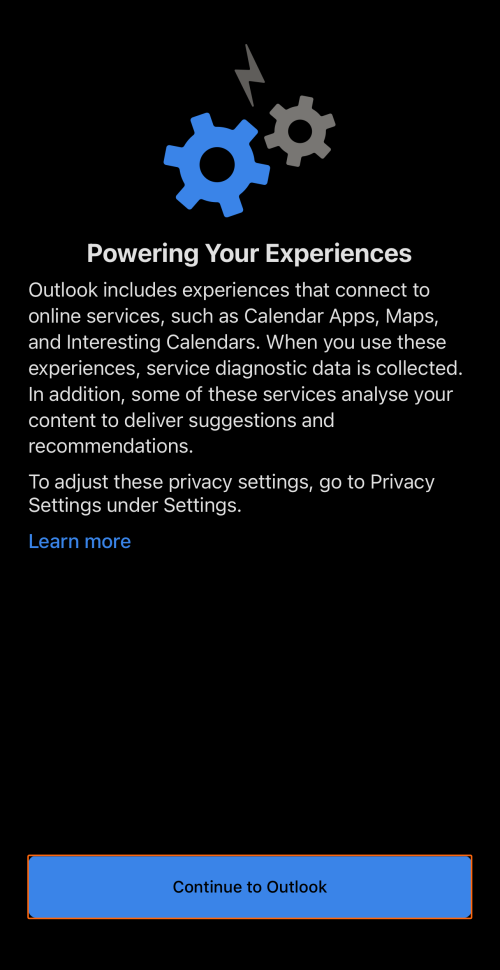
8. You can choose to sync Outlook to your other iOS apps such as Calendar and Maps. Proceed and Continue to Outlook.
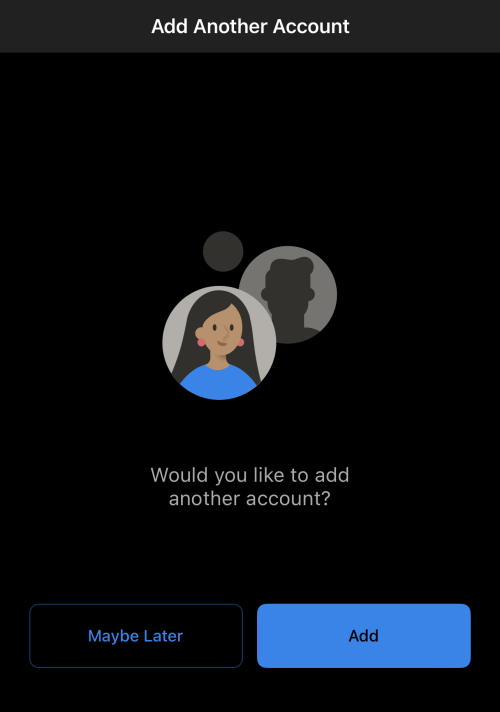
9. If you have another account to add and setup, click on Add. Otherwise, click on Maybe Later.
10. And that’s it! You have successfully set up IMAP email on your iOS phone.


