Autoresponders and Why It Is Essential
For business owners, every email or message sent by a customer is crucial. You must be able to respond to them quickly so that they will not lose interest simply because you weren’t able to answer their message right away. One very helpful tool in cPanel is the Autoresponder. It gives a quick acknowledgment email to your customer, so they would feel that you value their time and you will not leave them hanging.
How to Set Up Autoresponders in cPanel
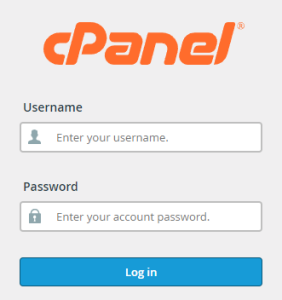
- Login to cPanel.
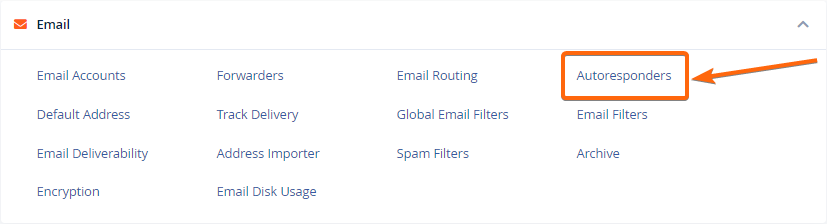
- From the homepage, go to the Email block, then select Autoresponders.

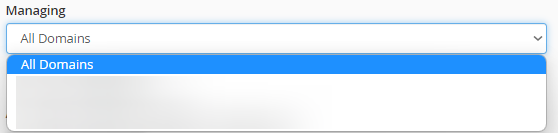
- Choose the domain under which you will be setting up autoresponders for.

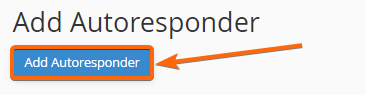
- Click on Add Autoresponder.

- You will be taken to the configure page where you will customize the autoresponder message:

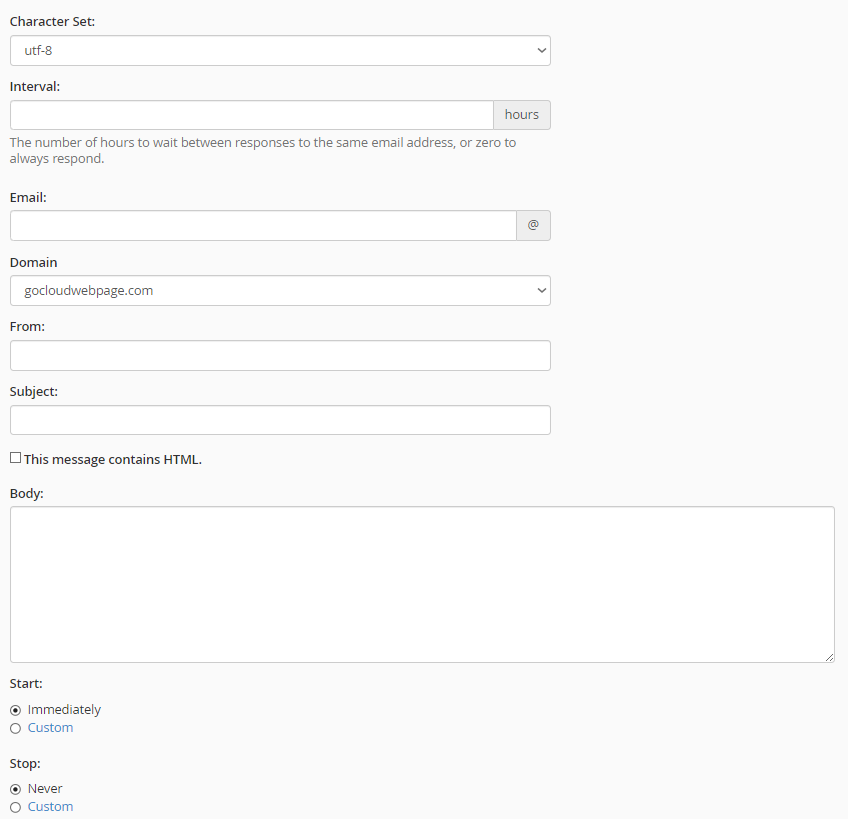
- Character Set: It is set to utf-8 by default. You can keep it this way to make sure your message will be displayed properly.
- Interval: Indicate here how many hours a received email will get an autoresponder.
- Email: Specify here the email (username only) that you will set up the autoresponder for.
Some autoresponders are set to noreply@(yourdomain).com so that the recipients will not have to follow up on this email address, and you can respond to them on their original message. - Domain: Set to the domain you selected earlier on step 3. You can still modify it in this window as needed.
- From: Type in the name you want to appear as the sender. (e.g. YourBusinessName Customer Support; YourBusinessName Support Team)
- Subject: This could be as cordial as “Thank You For Your Message” or “Your Message Was Successfully Sent” to keep your customer engaged and linked even if they are simply sending in a quick query.
- (Tickbox) This message contains HTML: Tick this checkbox if you will be including HTML content on the body for your message.
- Body: Prepare your autoresponder message here. Since you are not able to answer the message right away, keep the body of your message to a minimum – making sure to indicate the maximum time frame wherein you will get back to their email.
- Start
Immediately: Select if you want the autoresponder message to commence right away.
Custom: Select this option if you would like to set your autoresponder only for a selected timeframe. - Stop
Never: Choose this if you would like to keep the autoresponders ongoing.
Custom: Select this option if you would like to set your autoresponder only for a selected timeframe.
- Once you’re done with all the required details, click on Create at the bottom of the page.

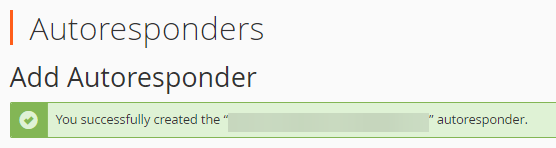
- A prompt will confirm that your autoresponder has successfully been created.

- Go back to the Autoresponders window and your newly created autoresponder will be listed here. You can edit it from here and go back to step 5 for the configuration guide.