Securing your logins with a uniquely generated password is one thing, but setting up another layer of security is now crucial. As a business owner, you want to protect not only your own information, but your customers’ as well.
Two-factor authentication (2FA) is an additional verification process that you can set whenever you login to cPanel. This way, you can keep your accounts safe from unauthorized access attempts such as brute force attacks. To know more about brute force attacks, click here.
Now, let’s start setting up the 2FA for your cPanel:
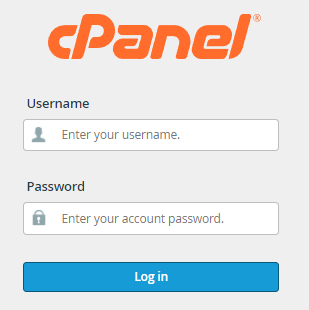
- Log in to cPanel.
- On the homepage, go to the Security block, and click on Two-Factor Authentication.

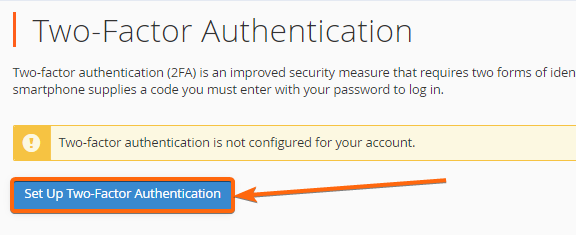
- If 2FA is not yet setup for your account, you will see this prompt on the succeeding page:

- If this is the case, click on Set Up Two-Factor Authentication.

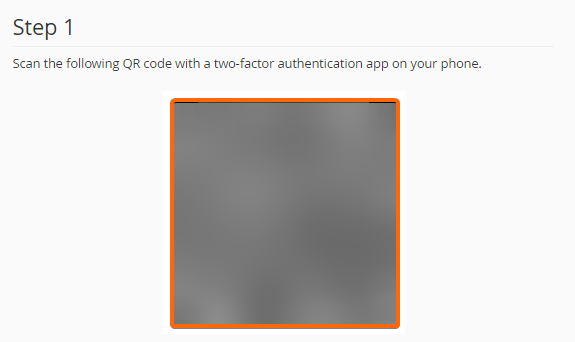
- You must scan the QR code using your mobile phone. It will then redirect you to your password manager for the next step.

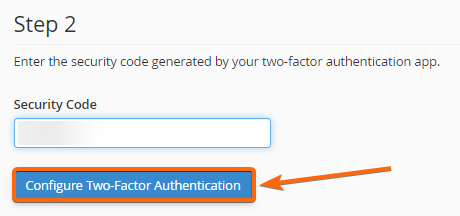
- Click on your cPanel QR link, and you will be given a unique code to type in on the box below. Once you have entered the code, click on Configure Two-Factor Authentication.

- A successful prompt will show confirming that 2FA has been successfully set up.

- You will then be asked to generate another code to proceed back to cPanel.


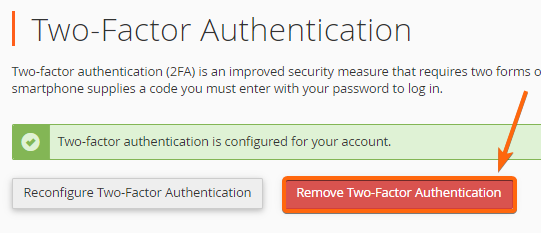
If you would like to remove the two-factor authentication, simply go back to steps 1 and 2, and proceed here:
- You will see that the prompt has changed to “Two-factor authentication is configured for your account.” To disable this, click on Remove….

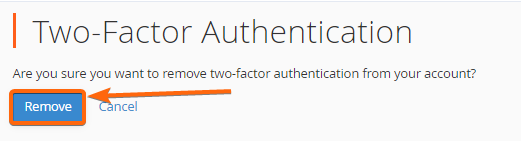
- Confirm that you will be disabling the two-factor authentication, and click on Remove.

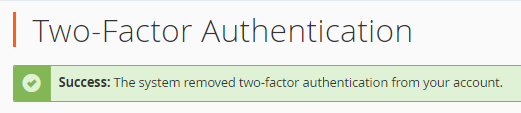
- You will be notified that the two-factor authentication has now been removed successfully.