The WPS Hide Login plugin is mostly used to secure a website’s WordPress account from any attempts of being accessed by outside parties. WordPress users would know that adding a /login after a website’s URL will easily give them the path to the linked WordPress account. To prevent that from happening, the WPS Hide Login plugin is introduced. Here’s how you can have it installed for your own WordPress URL:
- Login to your website’s WordPress.
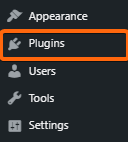
- Under your WordPress dashboard, look for Plugins.
- If this plugin was already previously installed, you can simply type it on the search bar and hit Enter:

If not, click here to download this plugin. - (For the succeeding steps, we will follow the WPS Hide Login that is already installed in the user’s plugin list.)
The WPS Hide Login plugin should now appear. Click on Activate.

- The same page will reload but the options under the plugin name will now change to Settings and Deactivate. Click on Settings.

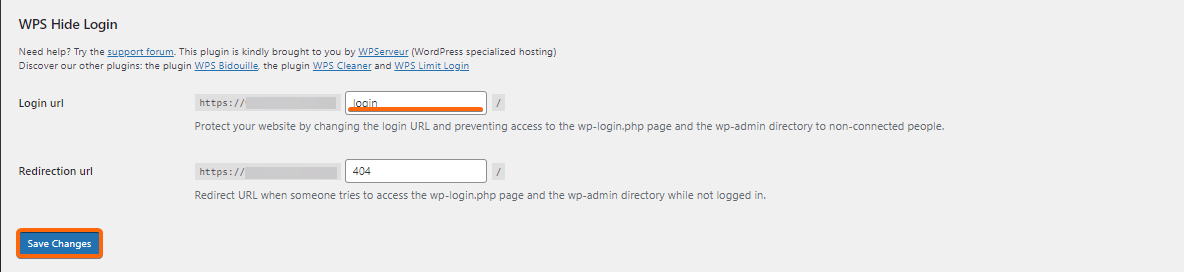
- Scroll to the bottom until you find the WPS Hide Login settings. You can now modify the login URL on this page.

Once done, click on Save Changes. - If you would like to edit the login URL again, or revert it to the original, you can repeat the same process in the Settings window.