When you’re trying to embed an image with your email content instead of an attachment in Roundcube, and you find that copying and pasting the image into the text field does not work, then this article is for you.
You must first set up your email settings so that the emails you will be sending are in HTML format, and not plain text, in order to embed an image.
1: Make Sure Your Composed Emails Are On HTML Format
For step-by-step instructions to set up your Roundcube webmail to always be in HTML format, click here.
2: Embedding Images On Your HTML Emails
- From your Roundcube webmail homepage, click on Compose.

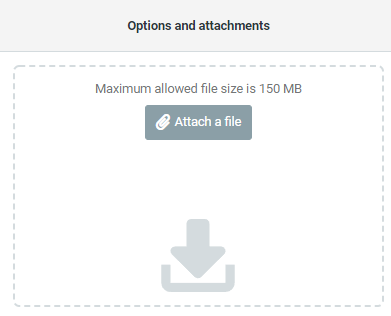
- On the right-hand side, you will see this section:

Click on Attach a file to add the image you want added to your email message.You can also use the toolbar at the top of the screen and click on the paperclip icon that says Attach.

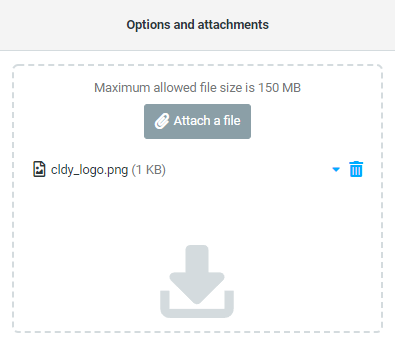
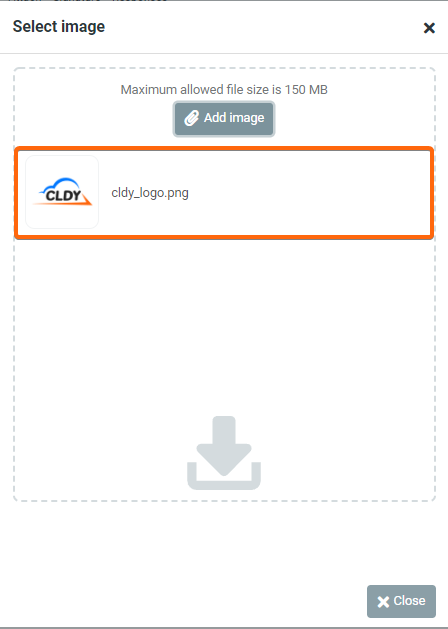
- Select the image from your folders, and the uploaded image should be visible on this area:

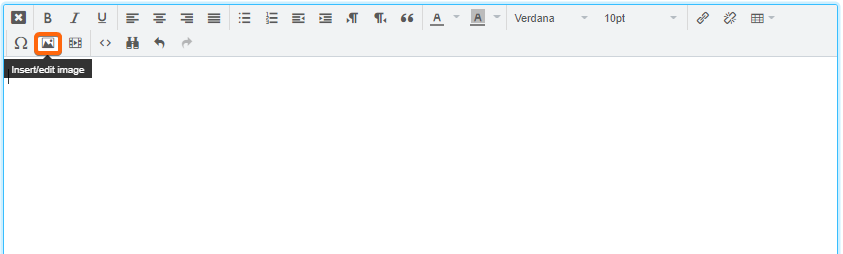
- Now, you can go to the textbox of your message, and click on Insert/edit image.

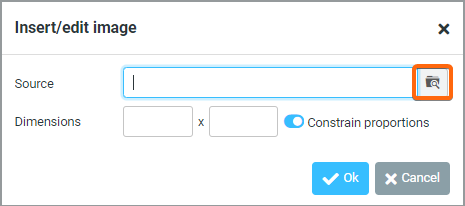
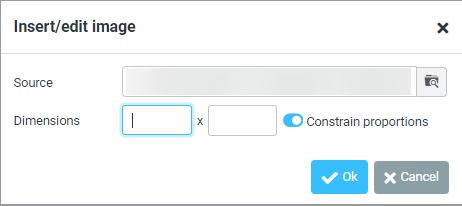
- A pop-up window will appear asking you to confirm the source of your image. Click on the magnifying glass icon to continue:

- Select the image from the attachments you have uploaded:

- The image filename will now be populated. You can resize the dimensions as you prefer.
 When you’re done, click on Ok.
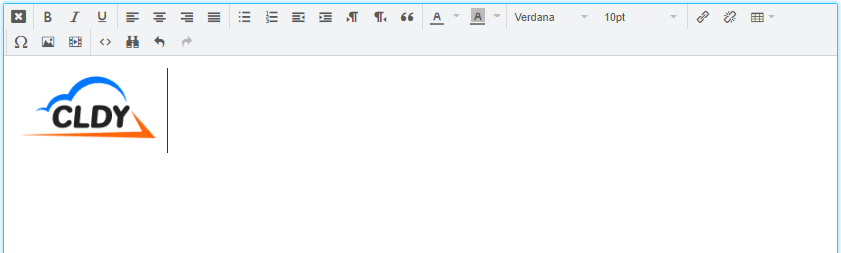
 - That’s it! The image should now appear on your textbox: