THUNDERBIRD AS YOUR EMAIL HUB
If you prefer to have a one-stop shop for your emails across different platforms, may it be your personal or business email, Thunderbird is the way to go. It allows you to link different email addresses – webmail, POP or IMAP emails, which is essential to growing businesses such as yours.
If IMAP your preferred email set-up, click here to know how to link it to Thunderbird.
In this article, we’ll show you how to set up a POP email within your Thunderbird application.
HOW TO CONNECT YOUR POP EMAIL TO THUNDERBIRD?
-
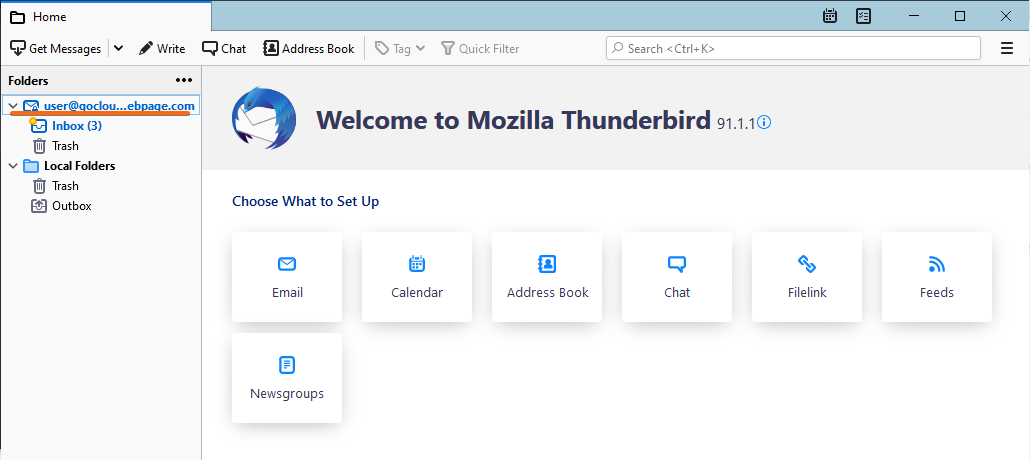
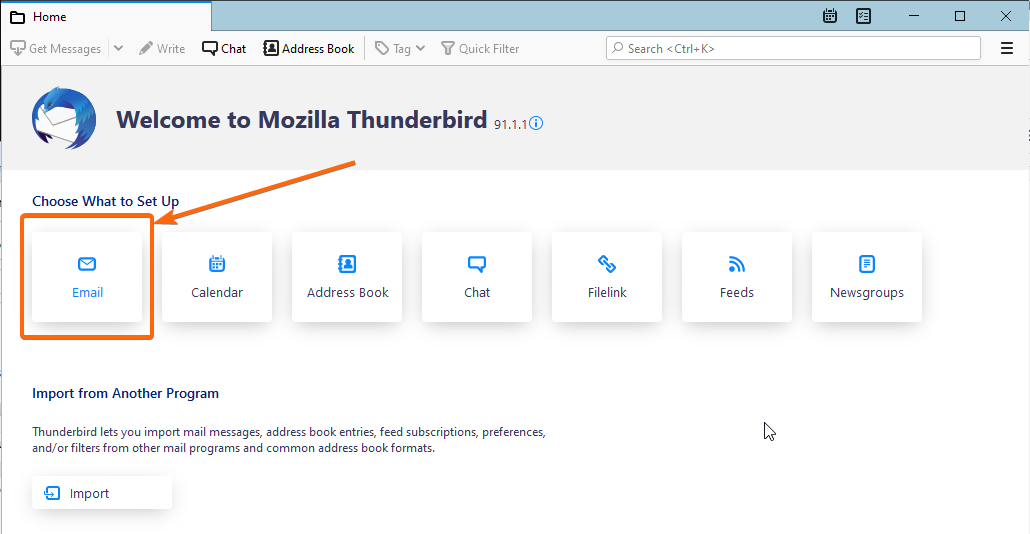
- Launch Thunderbird.
(The version used in this step-by-step procedure is the 91.1.1 version.) - As you browse the Home page, look for the Choose What to Set Up section and click on Email.

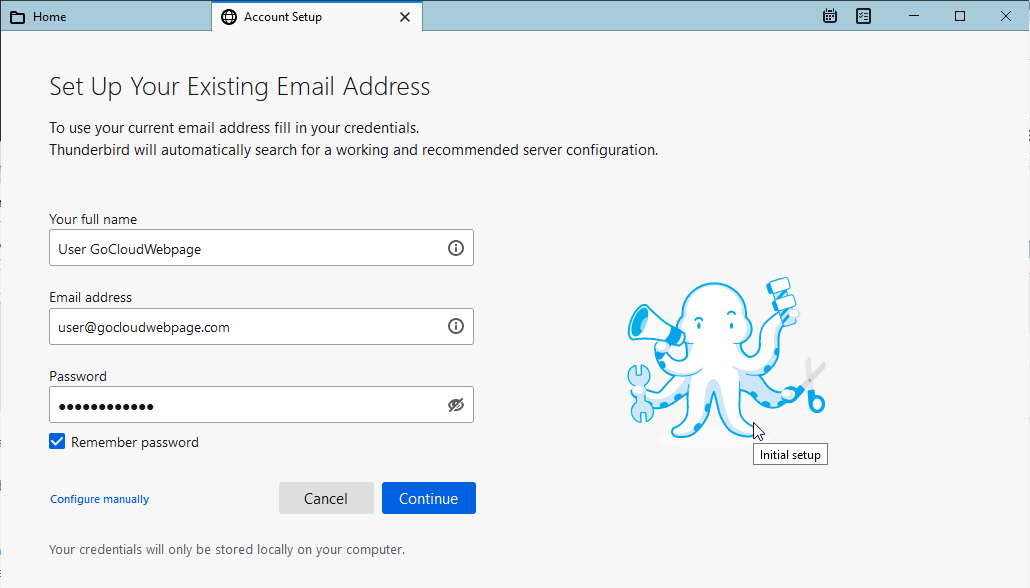
- There will be an additional tab that will appear, where you can enter your name, and your POP email address and password.

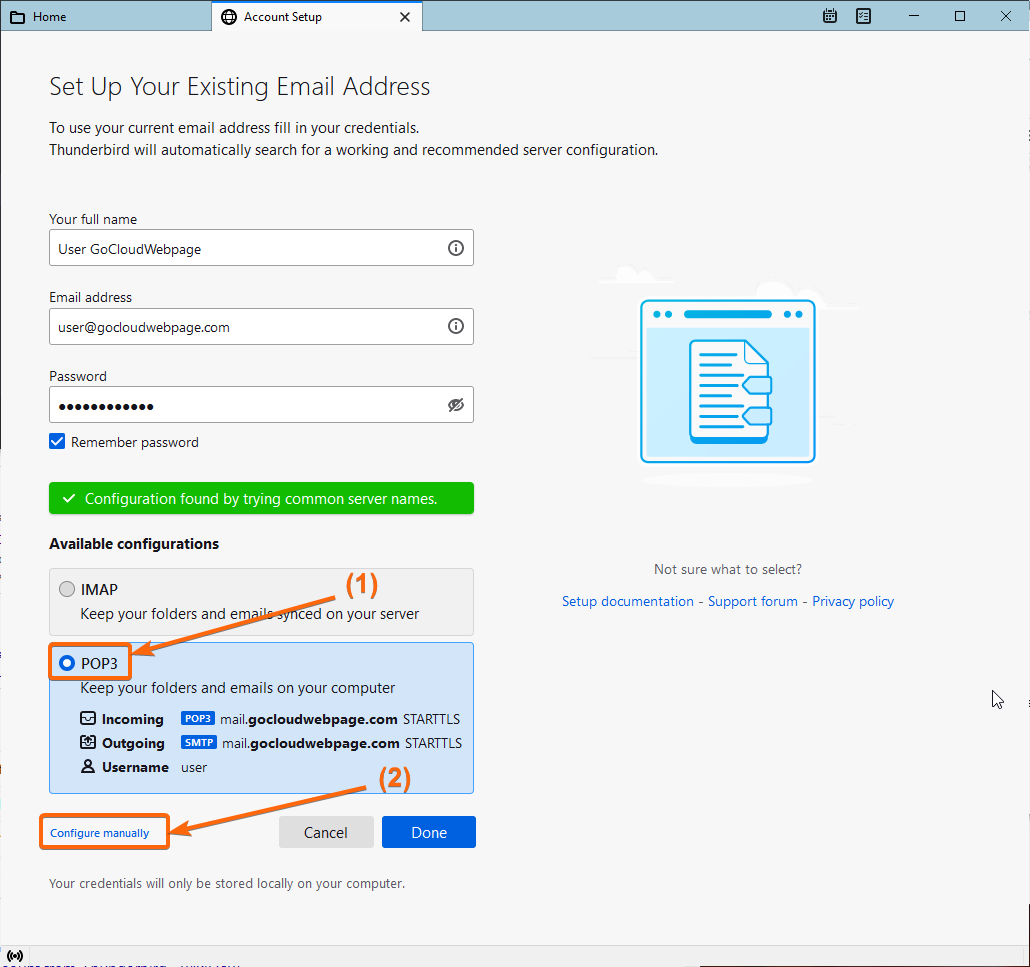
Click on Continue as soon as you have all the information required. - There will be additional options at the bottom of the same page, where you will be asked to select IMAP or POP3 as your email configuration.

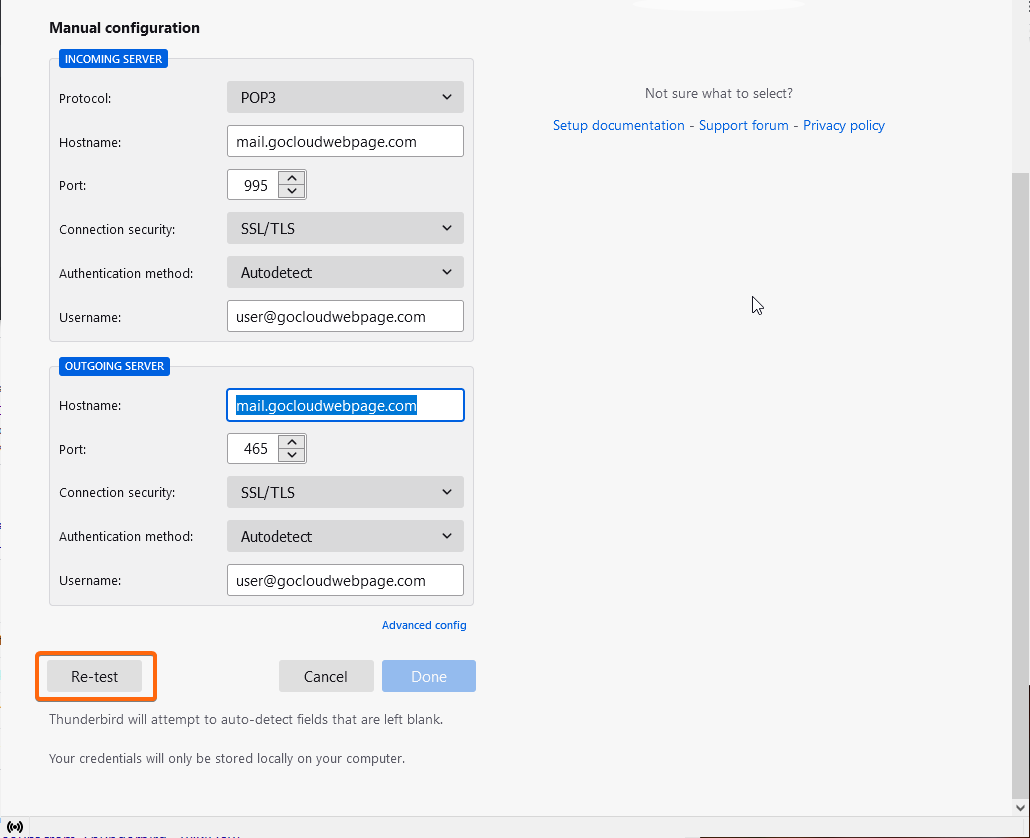
Select POP3 and click on Configure manually. - These are the information you need to setup your CLDY POP webmail properly within Thunderbird:
Incoming Server
Protocol: POP
Hostname: mail.gocloudwebpage.com
Port: 995
Connection security: SSL/TLS
Authentication method: Autodetect
Username: (your CLDY email address)
Outgoing Server
Hostname: mail.gocloudwebpage.com
Port: 465
Connection security: SSL/TLS
Authentication method: Autodetect
Username: (your CLDY email address)
* replace gocloudwebpage.com with your domain
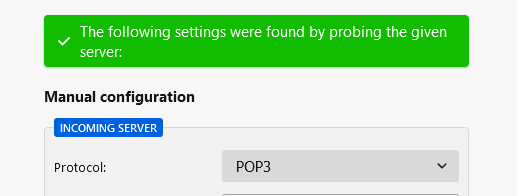
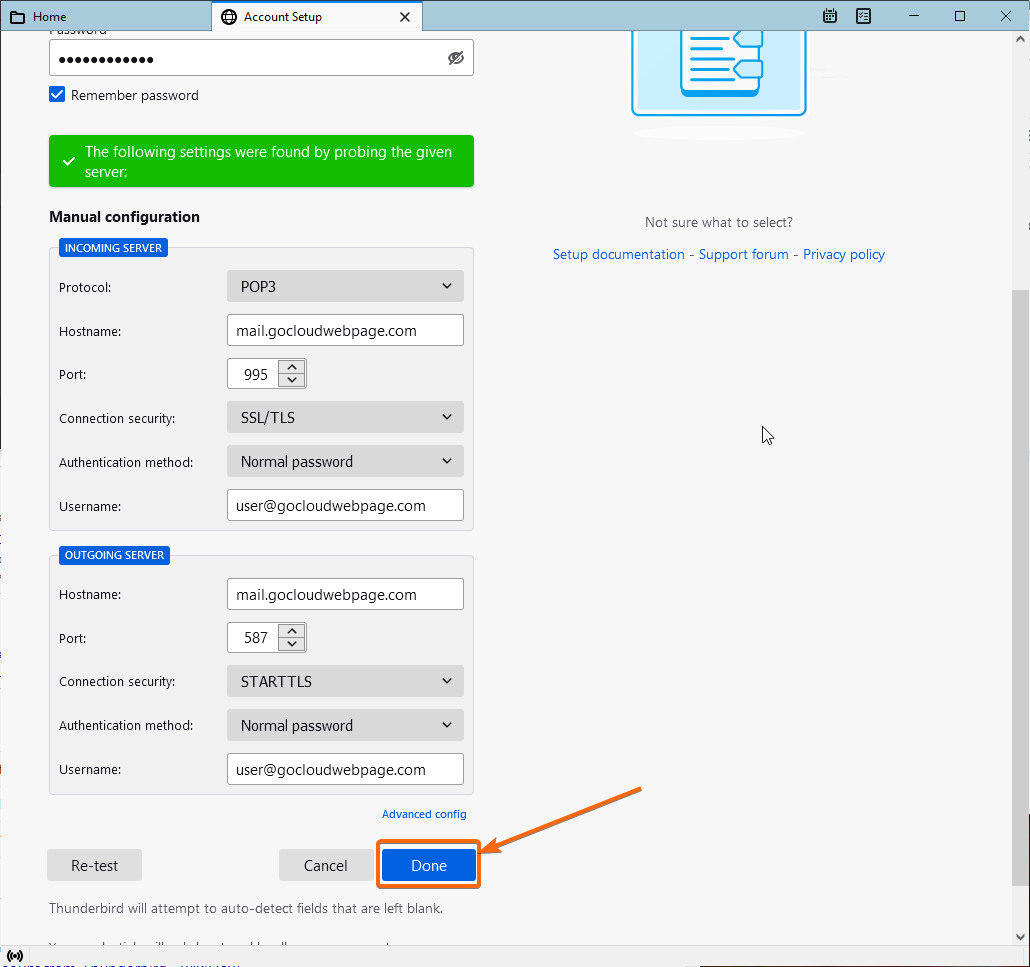
Type these information in and click on Re-test. If successful, this message should appear above the Manual configuration block:
If you’re good to go, click on Done.
Note: After clicking on Re-test, the Outgoing Server settings may revert to Port: 587 and Connection security: STARTTLS. It should work the same.
- Launch Thunderbird.
You will now see Account successfully created on the Account setup page.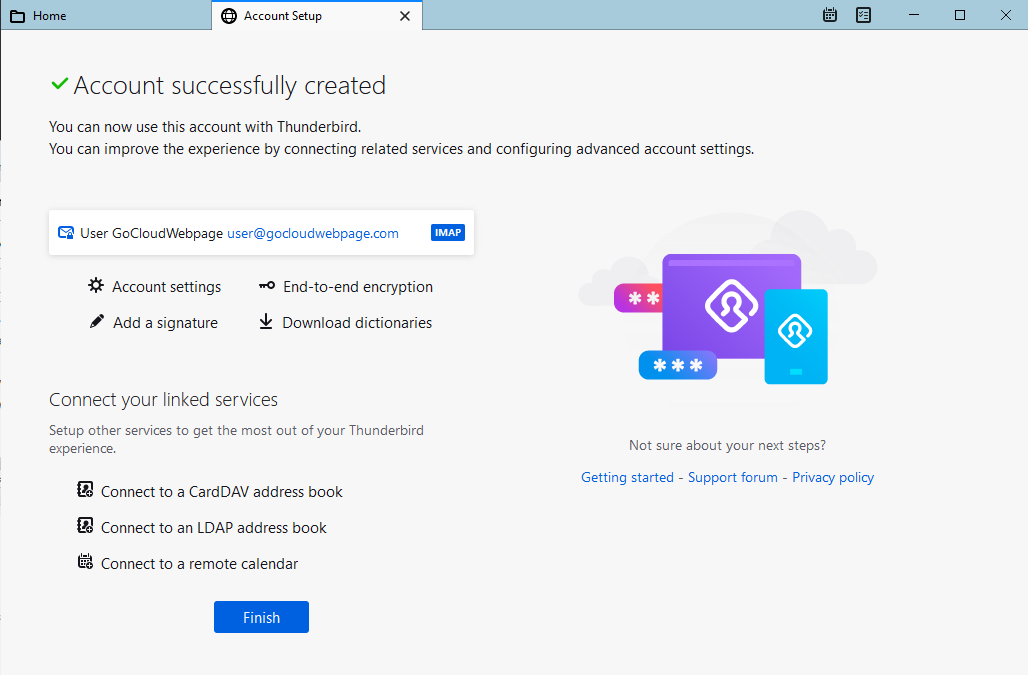
Click on Finish.
You will see your newly added POP email on the left hand side of your Thunderbird home screen.