
Whether you’re migrating your website or just doing a backup to create redundancy in the event of data loss, it’s always a good idea to create regular backups. This would come in handy in the event that your website gets targeted by hackers, or even in the simple mishap that someone who worked on your website clicked the wrong button and lost everything you invested in.
A monthly schedule seems to be a decent measure, but for those who maintain mission-critical websites, eCommerce websites whose business’ profitability relies on 100% uptime, and other websites and web applications that can’t afford data loss, closer intervals such as weekly or even every other day would be a good measure for doing backups.
Just a reminder: make sure to have about 50% of free diskspace left before running the backup. Once you have that taken care of, you can now proceed!
There are two ways to go about a data backup: Manual and via the Backup Wizard.
Let’s start with the easier option, via the Backup Wizard.
Backup Wizard Steps for Creating Backups
- Log In to your cPanel
- Usually, the cPanel Web Address can be navigated to through your domain, in this format:
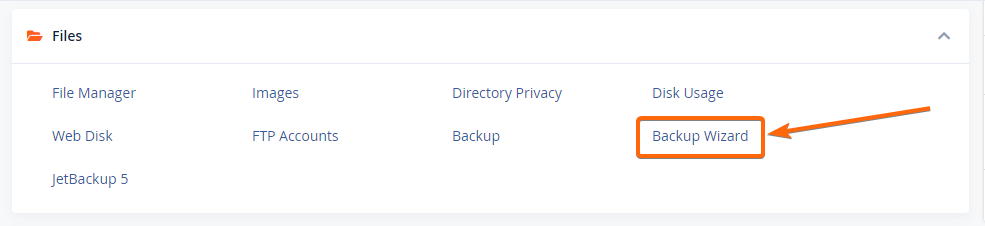
- Navigate to the “Backup Wizard” menu, in the “Files” section of your cPanel.

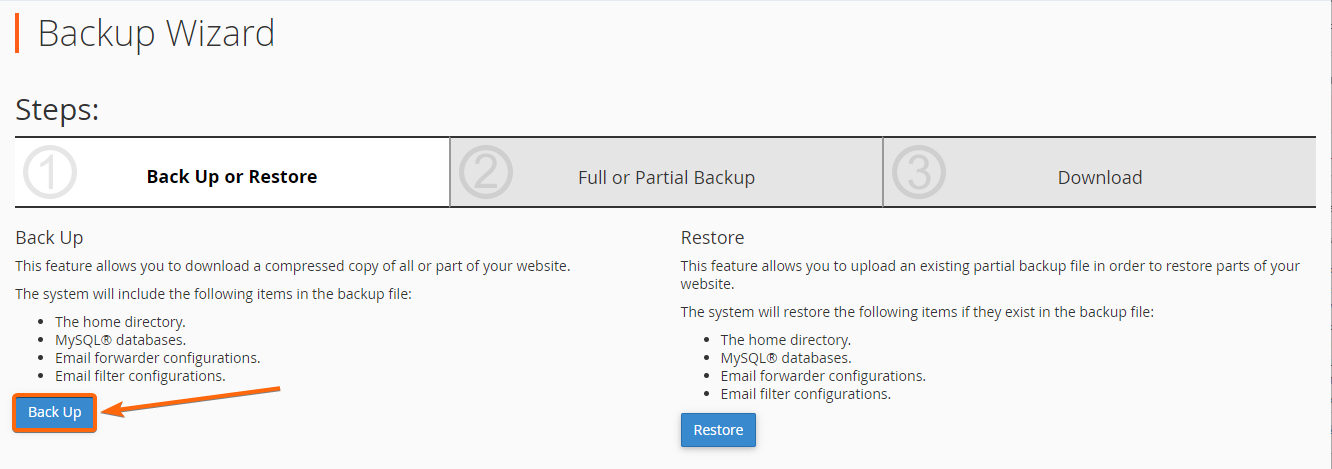
- Choose “Back Up,” on the left side of the dashboard.

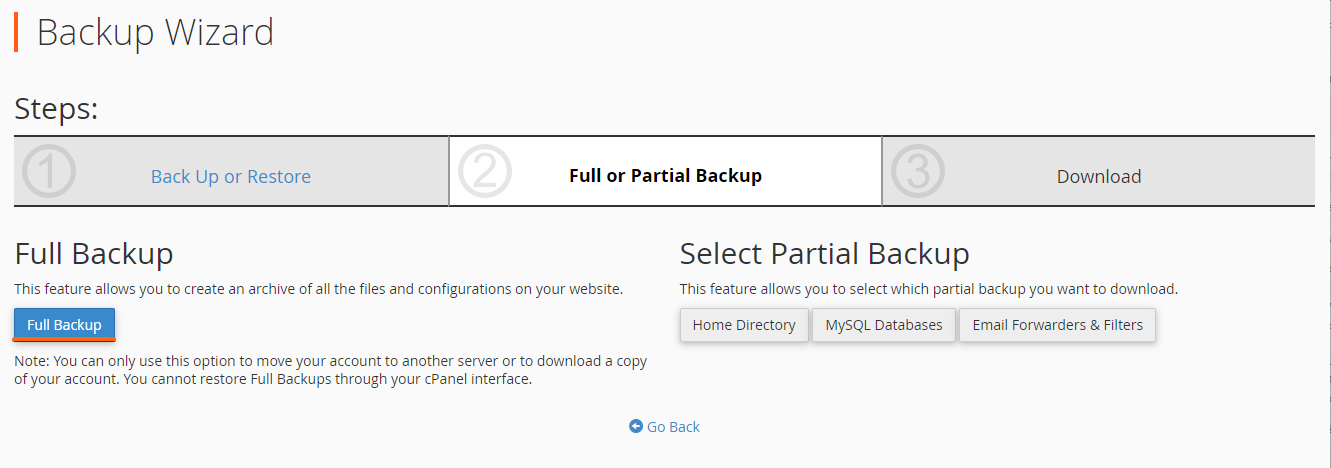
- Choose the type of Backup you need.
- While you can create a Partial Backup of either just your Home Directory files, your MySQL Databases, or your Email Forwarders & Filters, it’s best to create a Full Backup to retain all the data.

- While you can create a Partial Backup of either just your Home Directory files, your MySQL Databases, or your Email Forwarders & Filters, it’s best to create a Full Backup to retain all the data.
- Under “Generate a Full Backup” > Backup Destination, there are several ways you can have your Backup delivered.
- For this tutorial, let’s choose “Home Directory” as the destination.

- For this tutorial, let’s choose “Home Directory” as the destination.
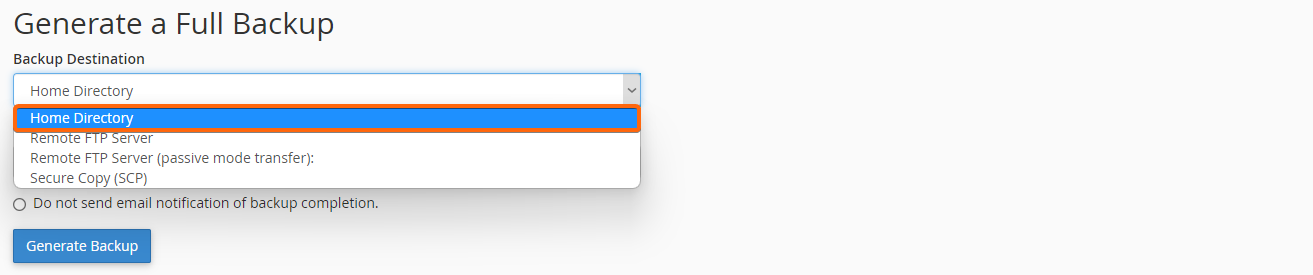
- Specify whether you’ll have cPanel email you when the backup is ready or not.

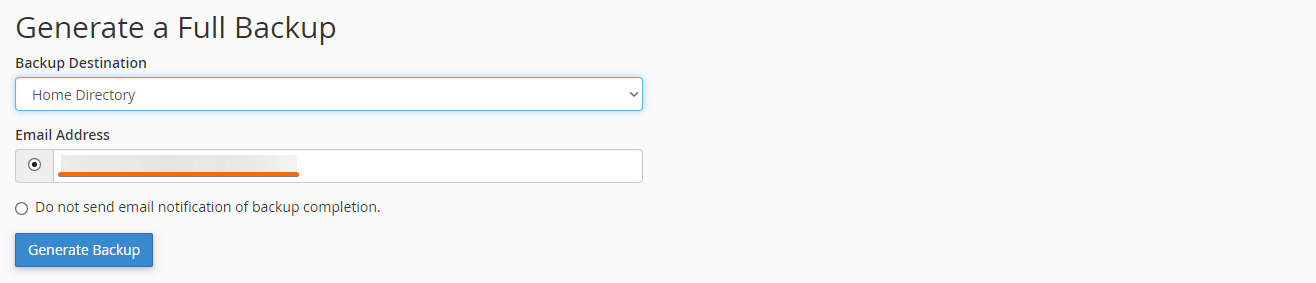
- Click Generate Backup.
- You will be able to access the Backup file within the Backup Wizard Menu, on the Download tab at the rightmost.
- Congratulations, you now have a backup of all your website’s files!
Manual Backup Steps
- Log In to your cPanel
- Usually, the cPanel Web Address can be navigated to through your domain, in this format:
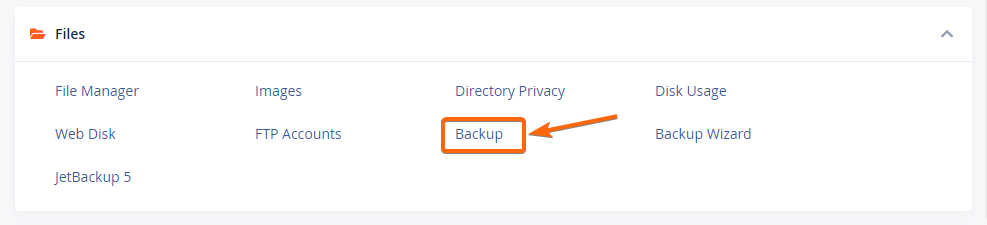
- Navigate to the “Backup” menu, in the “Files” section of your cPanel.

- Choose the type of Backup you need.

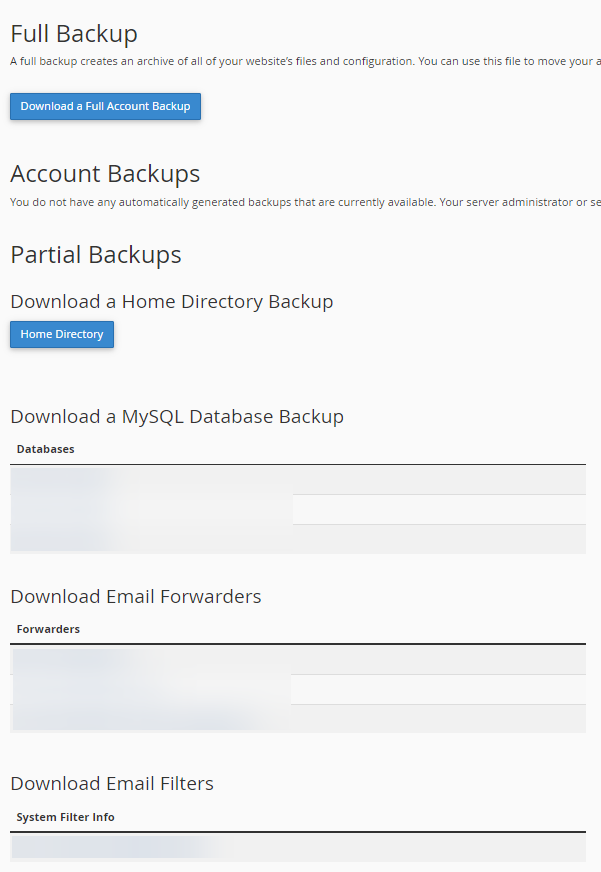
- For this tutorial, we’ll use “Download a Full Account Backup.”
- Specify whether you’ll have cPanel email you when the backup is ready or not.
- Click Generate Backup.
- You will be able to access the Backup file within cPanel > Files > File Manager > Home.
- The Backup files will be on the Home folder of your File Manager, as tar.gz files or tarballs.
- Tarballs are similar to .zip or .rar compressed files, only, these are Unix filetypes.
- Congratulations, you now have another backup of all your website’s files!
You will be able to use this file to restore your website and its assets should you need it. The “Restore” dialogue is also on the same dashboard.
Read “How to restore your website/email from CLDY backup service?” for more information on how to install your website and all its files from the recently-created tarballs.
You may download the Backup tarball and upload it to another cloud solution such as Google Drive, keep it on your computer, or even keep it on a flash disk or any other external or removable media.
Cheers to data redundancy for data security!


