Say goodbye to long and complicated implementation process to add email address in the contact form. With the Divi builder in place a few clicks will have you adding your email address in no time. All you have to do is just remember a few basic steps and you’re ready to accept enquiries from your visitors.
1. Login to WordPress.
2. From the dashboard, click on Pages, then go to All Pages.

3. Hover the pointer over the Contact Us page, and click on Edit With Divi.

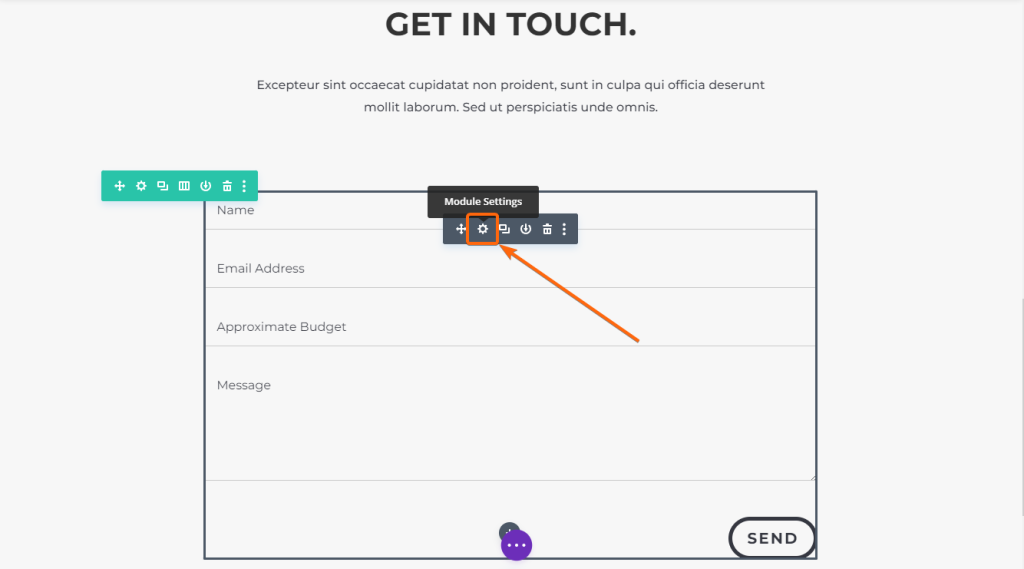
4. Scroll to the contact form and hover over the contact form fields. The gray toolbar should appear, where you can click on the gear icon.
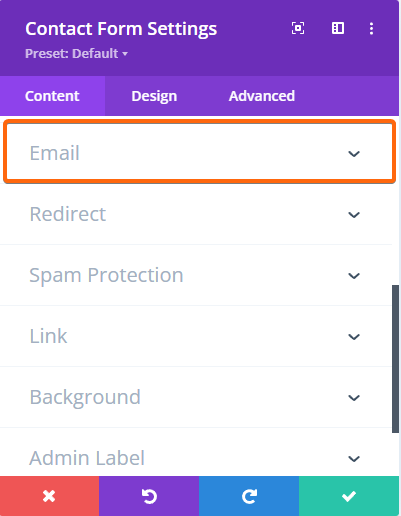
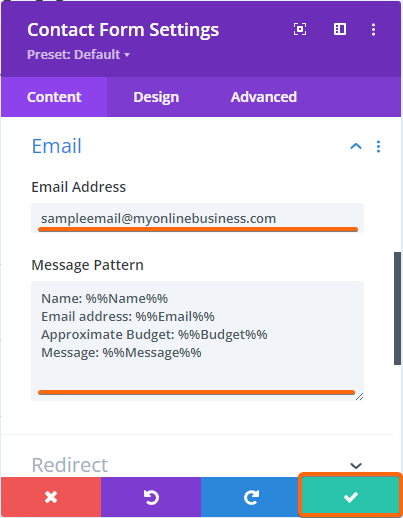
5. This window will now appear. Scroll down to Email and click on the dropdown.
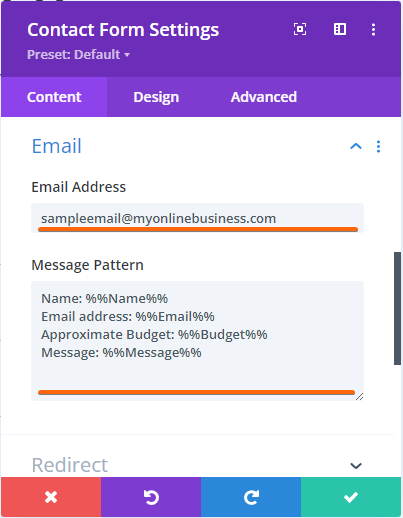
6. You can add your preferred email address here where you will receive all contact form enquiries. Edit the message pattern as you prefer. This is the recommended pattern based on the current layout:
- Name: %%(Field ID)%%
Email address: %%(Field ID)%%
Approximate Budget: %%(Field ID)%%
Message: %%(Field ID)%
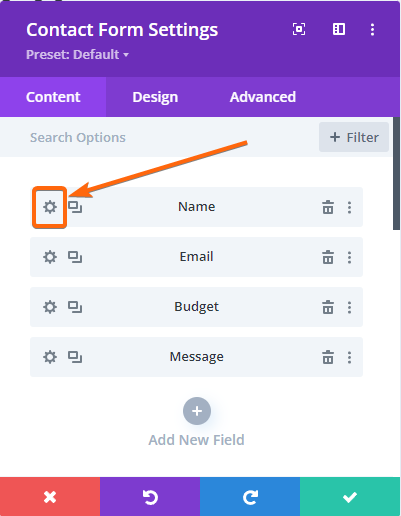
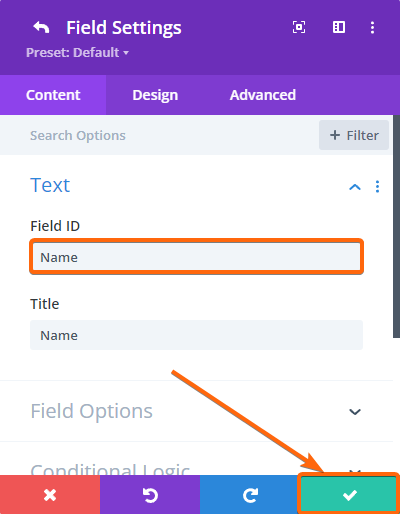
7. To get the Field ID, scroll up until you get to the content fields, and click on the gear icon next to the corresponding field you need to check.
8. Once you get the Field ID, click on the check mark to go back to the previous window.
9. Scroll back to the Email dropdown, and paste the Field IDs that you confirmed. Once you’re done, click on the check mark at the bottom right.
10. At the top part of the page, click on Exit Divi Builder.
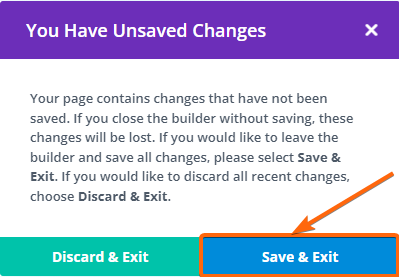
11. Confirm your changes by clicking on Save & Exit.
Now wasn’t that easy? The great thing about this is when you make use of Divi builder, you are automatically given spam protection for any incoming emails. Now go out there and try it out for yourself.


