
The DNS cache is an important service which helps to reduce the process of making DNS requests. This will speed up your web browsing experience on some of your favourite websites. But at some point, it may take up a significant amount of space in your drive. That’s why it’s important to clear DNS cache from time to time.
The initial loading of websites and applications may be slightly slower when you relaunch them, but they will also load much better. Here’s how you can flush and clear DNS cache on your Mac computer:
Note: Saved passwords, browser histories, and website login credentials may also be cleared when flushing DNS cache. Make sure to have a copy of your logins and passwords, or bookmark your preferred links before proceeding to flush DNS cache.
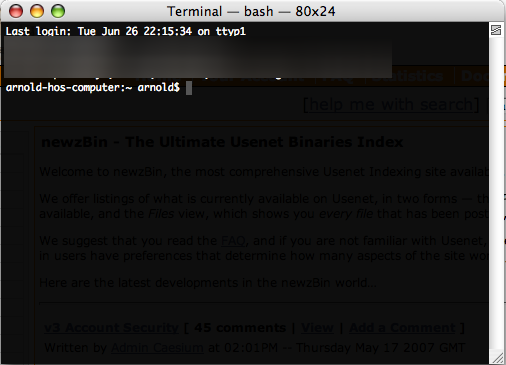
1. On your keyboard, click Command (or Cmd) ⌘ + Space. Search for “Terminal” and open the program.
- You can also click on Launchpad from your home screen, and look for the Terminal app.
2. The command you need to input will depend on the OS version your Mac is currently running on. Here’s the list of OS and the corresponding command code for your Mac:
- Ventura & Monterey
- sudo dscacheutil -flushcache; sudo killall -HUP mDNSResponder
- Lion, Mountain Lion, Mavericks, El Capitan, Sierra, High Sierra, Mojave
- sudo killall -HUP mDNSResponder
- Yosemite
- sudo discoveryutil mdnsflushcache
- Tiger
- lookupd -flushcache
3. Hit Enter.
- Type in your password if prompted, then hit Enter again on your keyboard.
4. Terminal will confirm once the clear DNS cache process is completed.


